Berry Crisp
Sweet Berries and Crunchy Topping in Harmony
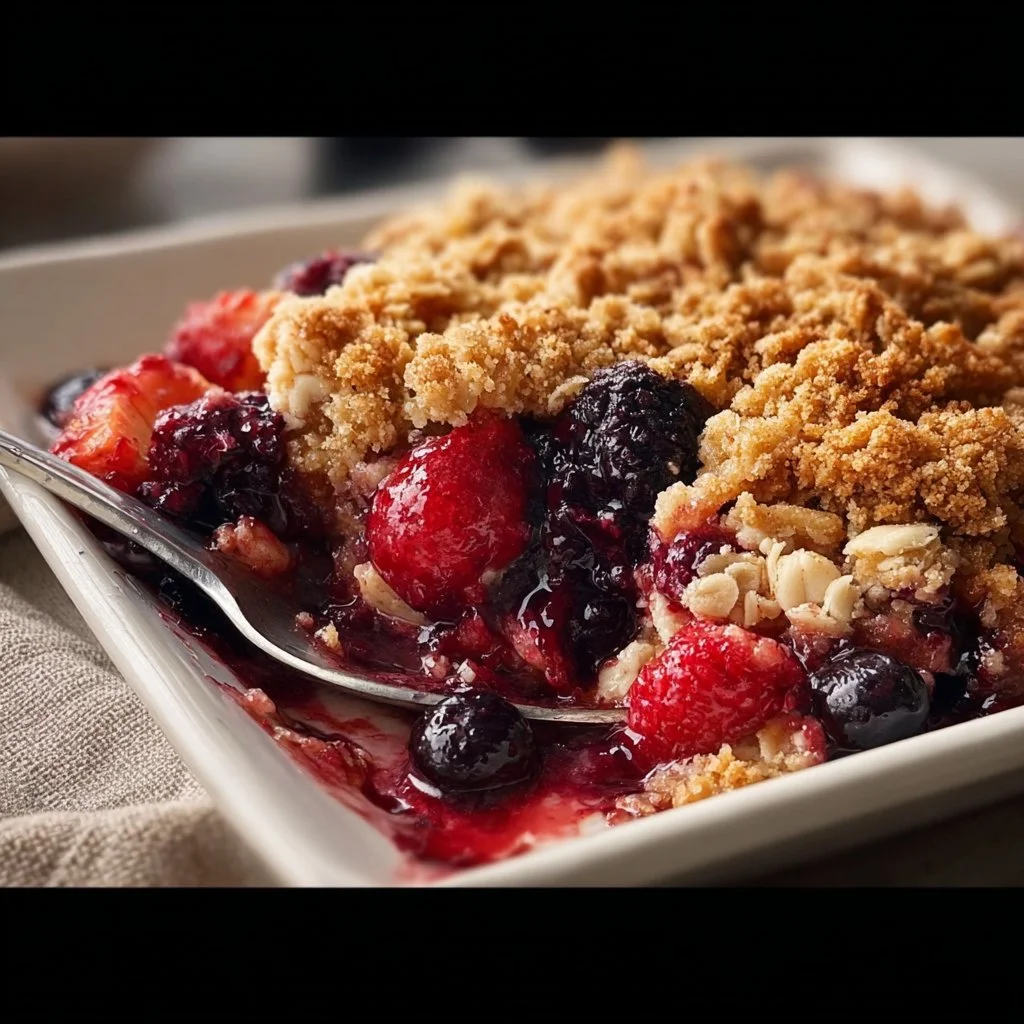
The aroma of warm mixed berries and crispy, buttery oats wafting from your oven is like a hug for your senses. If you’re ready to indulge in a comforting dessert that feels like a warm blanket on a cool evening, then this Berry Crisp recipe is calling your name! It’s simple, quick, and a guaranteed crowd-pleaser—perfect for impressing guests or treating yourself after a long day.
Why Make This Recipe
Wondering why you should jump on the Berry Crisp bandwagon? Here are a few compelling reasons:
- Deliciously Easy: You’ll be shocked at how simple it is to whip up this dessert. Just toss some ingredients together, and voila!
- Minimal Cleanup: With just a mixing bowl and a baking dish, you can skip the post-dinner kitchen marathon. 🙌
- Family-Friendly Fun: Get the kiddos involved in mixing and measuring. Plus, who can resist berries? Not me!
Ingredients
You don’t need fancy stuff—just these basics!
- 2 cups mixed fresh berries (such as strawberries, blueberries, and raspberries)
- 1 cup rolled oats
- 1/2 cup flour
- 1/2 cup brown sugar
- 1/2 cup granulated sugar
- 1/2 teaspoon cinnamon
- 1/2 cup butter, melted
- 1 teaspoon vanilla extract
- Pinch of salt
Directions
Let’s get to the good stuff! Follow these easy steps to make your Berry Crisp:
- Preheat your oven to 350°F (175°C).
- In a mixing bowl, combine the mixed berries and 1/4 cup of granulated sugar. Pour the mixture into a baking dish.
- In another bowl, mix the rolled oats, flour, brown sugar, remaining granulated sugar, cinnamon, and salt.
- Add the melted butter and vanilla extract to the oat mixture, stirring until crumbly.
- Sprinkle the oat mixture evenly over the berries.
- Bake in the preheated oven for 30-35 minutes, or until the topping is golden brown and the berries are bubbling.
- Allow to cool slightly before serving. Enjoy your berry crisp warm with ice cream or whipped cream!
How to Make Berry Crisp (Overview)
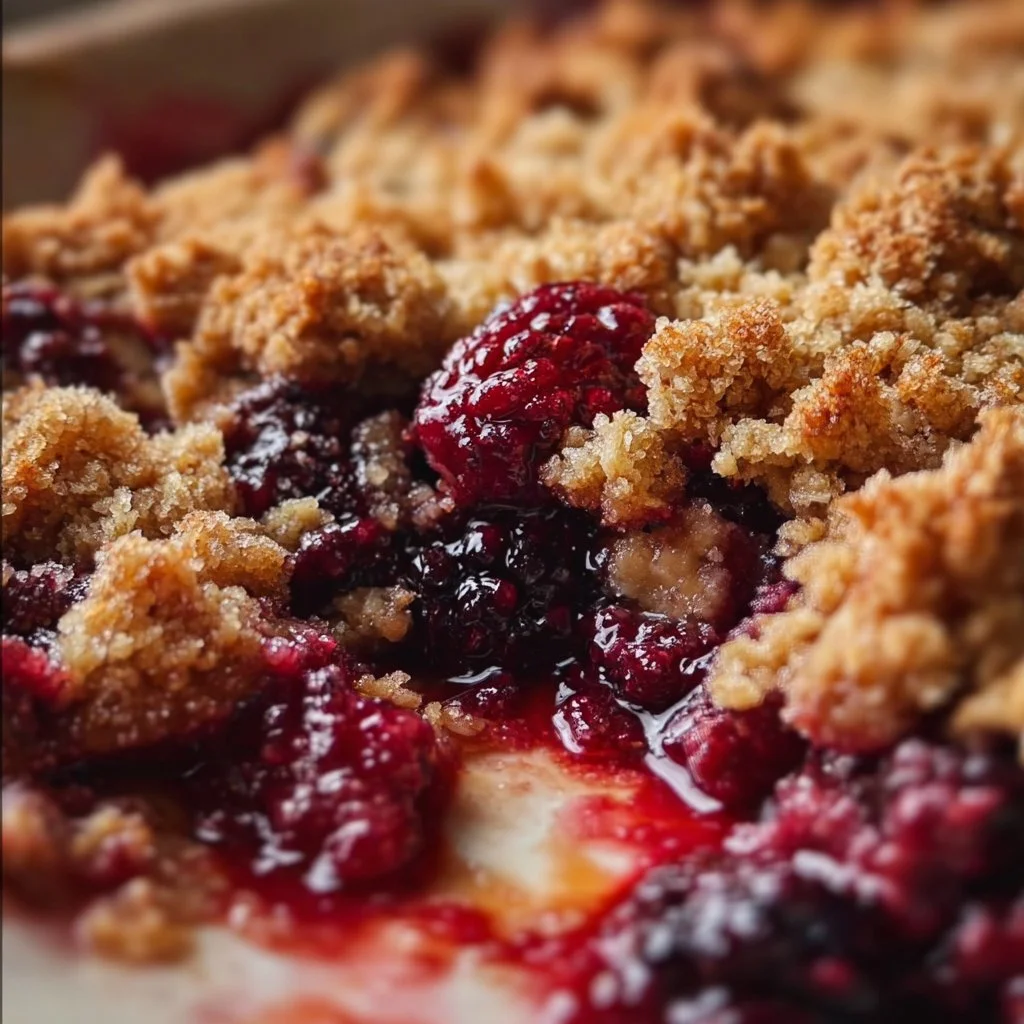
Alright, let’s recap how to make this delightful dessert, shall we? First, gather your fresh berries and sweeten them up with sugar. While they soak up that sugary goodness, mix together oats and butter for that magical crunchy topping. Combine, bake, and watch your kitchen transform into a berry haven. Pro tip: Let it cool just a bit before serving—burnt tongues are not a vibe! 😉
How to Serve Berry Crisp
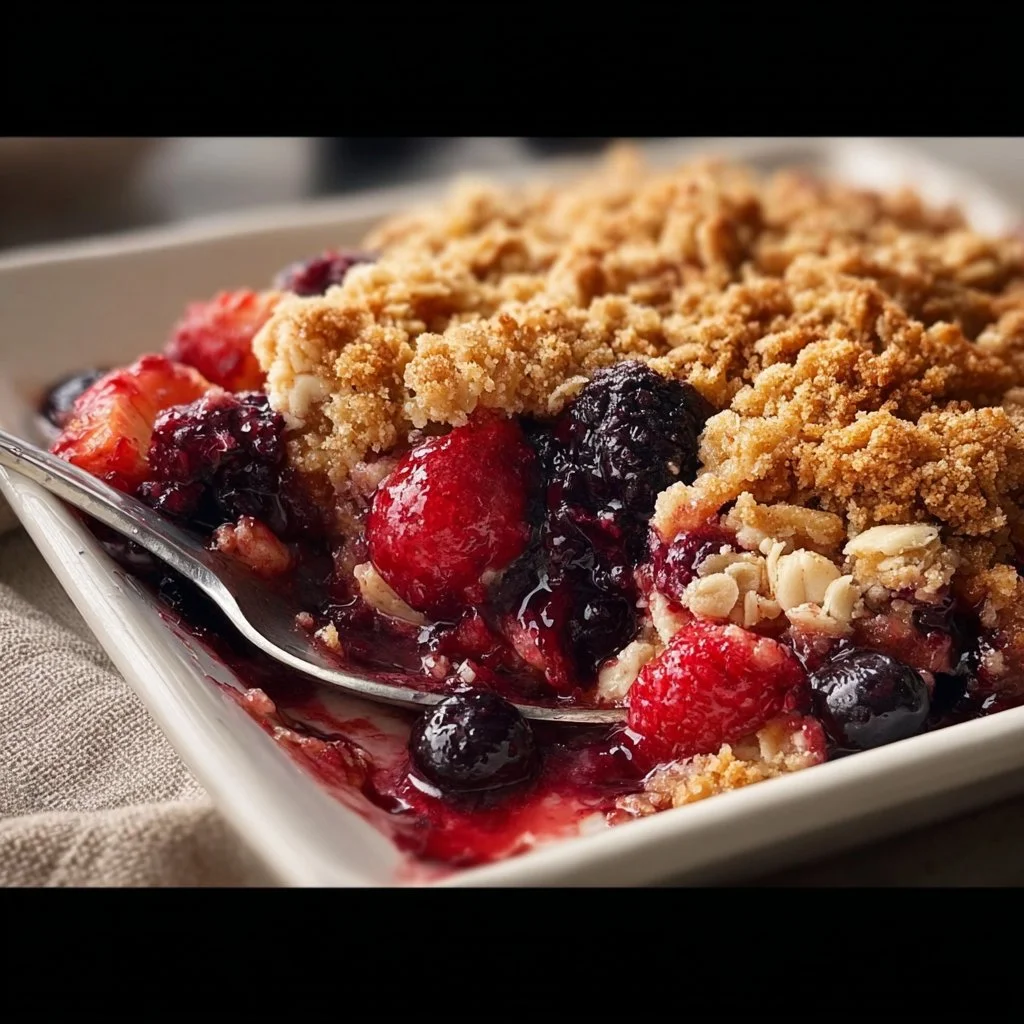
Serving this Berry Crisp is where the fun begins! Scoop it into bowls while it’s still warm, letting that crisp topping shine. Drizzle with cream, sprinkle with powdered sugar, or top with a generous scoop of your favorite ice cream. The contrast of warm, juicy berries and cool, creamy ice cream is pure bliss. Plus, it looks super pretty with its vibrant colors—perfect for your Insta feed! 😍
How to Store Berry Crisp
Got leftovers? First of all, bless your heart! Store any remaining Berry Crisp in an airtight container in the fridge for up to 3-4 days. You can also freeze it for up to 2 months—just make sure it’s well-sealed! When you’re ready to dive back in, reheat in the oven for that fresh-out-of-the-oven experience.
Tips to Make Berry Crisp
- Mix it Up: Feel free to swap out berries for whatever’s in season or for your personal favorites! 🍓
- Dairy-Free Option: Use coconut oil instead of butter for a dairy-free twist!
- Texture Matters: If you want extra crunch, bake a few extra minutes, but watch carefully to avoid burning.
- Make Ahead: You can assemble the crisp a day in advance. Just pop it in the oven when you’re ready!
- Sweeten to Taste: Adjust the amount of sugar in the berries based on how sweet or tart they are.
Variation
Want to switch things up? Try adding a scoop of chopped nuts for an additional crunch, or a sprinkle of coconut flakes for a tropical vibe. You could also make it vegan by substituting butter with plant-based alternatives!
FAQs
1. Can I use frozen berries instead?
Absolutely! Frozen berries work just fine—just don’t thaw them before baking.
2. How can I make this gluten-free?
Swap regular flour for almond or gluten-free flour, and use certified gluten-free oats!
3. Can I make this ahead of time?
You can prepare the fruit mixture and topping in advance, then bake it when ready to serve for a fresh hot dessert!
📌 Pin this recipe for your next cozy dinner night!
Berry Crisp
Ingredients
Method
- Preheat your oven to 350°F (175°C).
- In a mixing bowl, combine the mixed berries and 1/4 cup of granulated sugar. Pour the mixture into a baking dish.
- In another bowl, mix the rolled oats, flour, brown sugar, remaining granulated sugar, cinnamon, and salt.
- Add the melted butter and vanilla extract to the oat mixture, stirring until crumbly.
- Sprinkle the oat mixture evenly over the berries.
- Bake in the preheated oven for 30-35 minutes, or until the topping is golden brown and the berries are bubbling.
- Allow to cool slightly before serving.
- Scoop the Berry Crisp into bowls while it’s still warm, and top with ice cream or whipped cream.