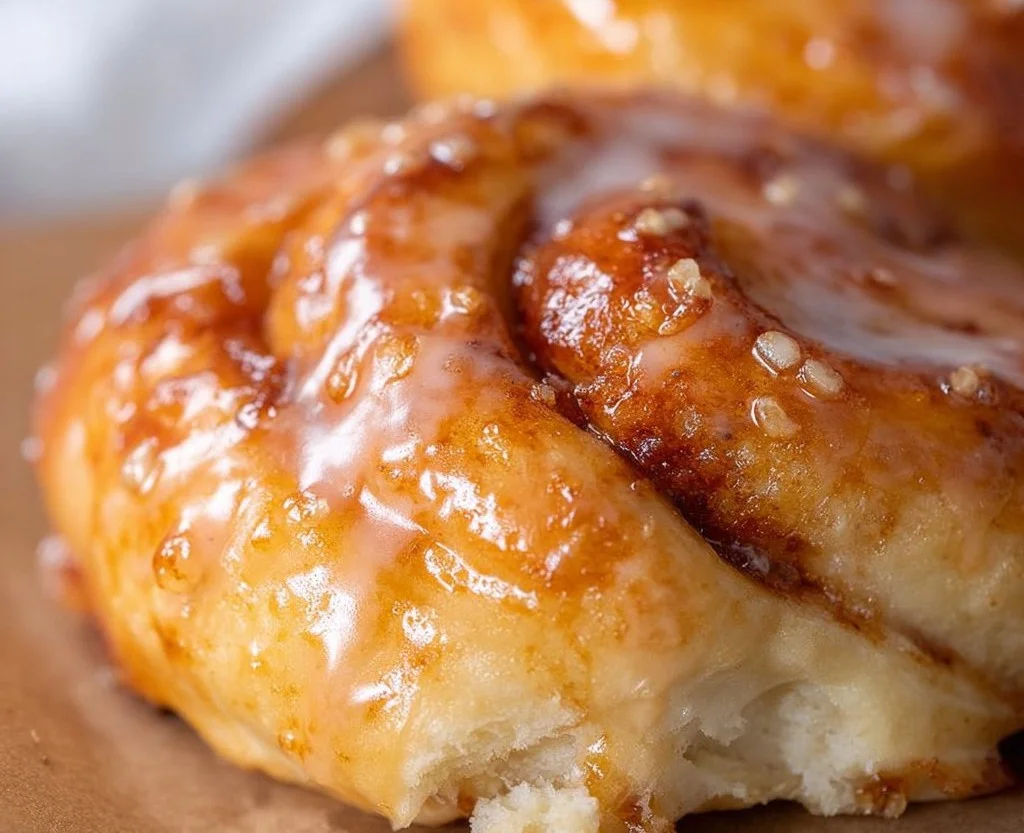
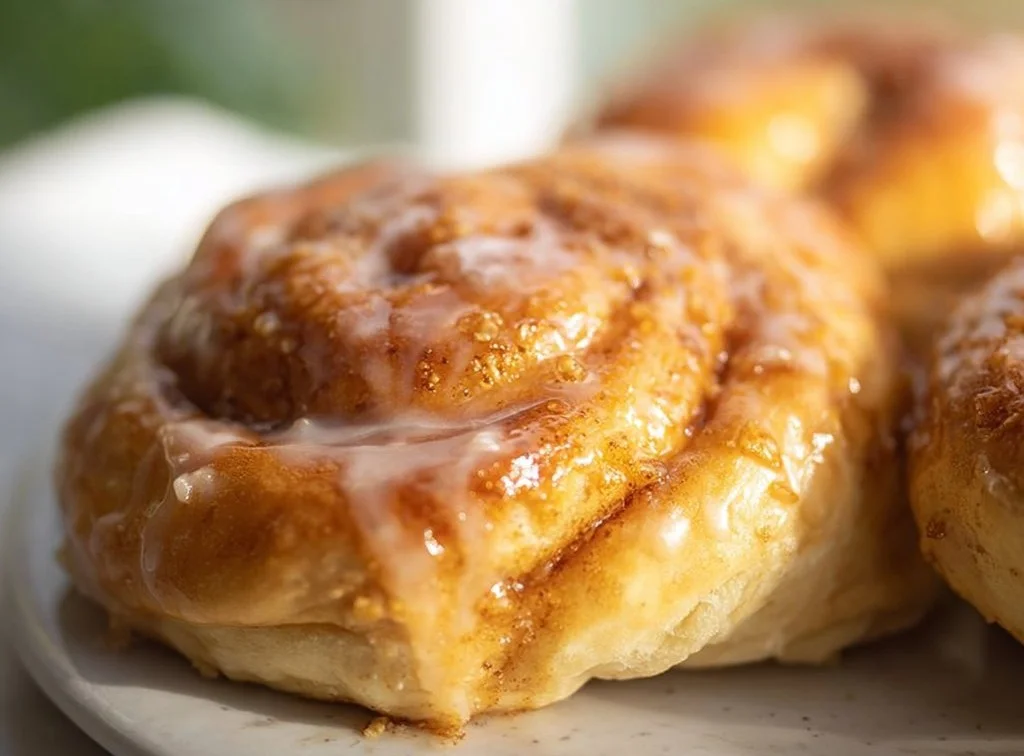
Vegan Honey Buns
Soft, Sweet, and Irresistible!
Have you ever taken a bite of a warm, gooey honey bun that instantly transported you back to your childhood? 🍯 Well, get ready for a delightful twist with these Vegan Honey Buns! They’re soft, fluffy, and drizzled with a sweet glaze that’ll make your taste buds sing. Plus, they’re super easy to whip up—your friends and family will never guess they’re plant-based!
Why Make This Recipe
Why should you drop everything and make these buns? Here are a few reasons:
-
Quick and Easy: Just a few ingredients and steps stand between you and a pan of warm, fragrant deliciousness. Who doesn’t need that in their life?
-
Budget-friendly: You don’t need to break the bank to have a moreish treat! Most of these ingredients you likely have on hand already. 🙌
-
Fun for Everyone: Kids love them; adults adore them. These buns are a hit at any gathering (or just for solo snacking)!
Ingredients
You don’t need fancy stuff — just these basics! Here’s what you’ll need:
- 1 1/2 Cups Non-Dairy Milk
- 1/4 Cup Agave Nectar (or store-bought vegan honey)
- 2 tsp Instant Yeast
- 6 Tbsp Melted Non-Dairy Butter (I used Country Crock plant butter)
- 3 1/2-4 Cups All-Purpose Flour
- 1 tsp Kosher Salt (1/2 tsp if using table salt)
- 3 Tbsp Non-Dairy Butter, softened
- 1/3 Cup Granulated Sugar
- 1/3 Cup Agave Nectar (or store-bought vegan honey)
- 2 tsp Ground Cinnamon
- 2 Cups Powdered Sugar, sifted
- 1/4 Cup Non-Dairy Milk
Directions
Ready to bake? Let’s get started!
-
Make the Sweet Dough: In a bowl, combine non-dairy milk, agave nectar, and instant yeast. Let it sit for a few minutes. Then mix in melted butter, flour, and salt until a dough forms. Knead until smooth.
-
Mix the Filling: In another bowl, combine softened non-dairy butter, sugar, agave nectar, and ground cinnamon.
-
Shape the Buns: Roll out the dough, spread the filling over it, and roll it up tightly. Cut into equal pieces and place them in a greased baking dish.
-
Make the Glaze: Whisk together powdered sugar and non-dairy milk until smooth.
-
Bake the Buns: Preheat the oven and bake until golden brown and fluffy. Drizzle with glaze while warm.
How to Make Vegan Honey Buns (Overview)
Don’t be intimidated by the process! Here’s the scoop: start by mixing the dough and letting it rise. Then, whip up the cinnamon filling because, let’s be real, it’s what makes these buns shine. Roll, slice, and let them bake to perfection. Don’t skip the glaze—it adds that final touch of sweetness! Pro tip: If the dough feels too sticky, sprinkle in a little more flour.
How to Serve Vegan Honey Buns
Serve these honey buns warm and fresh out of the oven for an ultimate comfort food experience. You can:
- Pair them with a cup of tea or coffee for a cozy afternoon treat.
- Add a sprinkle of nuts or dried fruits on top for extra flavor and crunch.
- Enjoy them as breakfast—who says you can’t have dessert first? 🍩
How to Store Vegan Honey Buns
Got leftovers? Store them in an airtight container at room temperature for about 3 days. For longer storage, pop them in the fridge for up to a week or freeze for a quick treat later. To reheat, just pop them in the microwave for about 10-15 seconds.
Tips to Make Vegan Honey Buns
Here are some insider tricks:
-
Perfect Rising: Make sure your yeast is fresh to get that fluffy rise—nobody likes dense buns!
-
No Agave? No Problem: Use maple syrup or another sweetener if you’re out of agave nectar.
-
Dough Too Wet? Add a teaspoon of flour at a time until it reaches the right consistency. Trust me; it’s worth it!
Variations
Want to switch it up? Consider these fun variations:
- Chocolate Swirl: Add cocoa powder to the filling for a rich chocolatey twist.
- Nutty Delight: Stir in some chopped nuts for an added crunch.
- Fruit-Filled: Throw in some fresh or dried fruits for a fruity kick. Raspberry jam anyone?
FAQs
Can I make these ahead of time?
Absolutely! You can prepare the dough a day in advance and let it rise in the fridge overnight.
Can I freeze the buns?
Yes! Seal each bun tightly, and they’ll last up to 3 months in the freezer. Thaw them before reheating.
What can I substitute for non-dairy milk?
Any plant-based milk works, but almond or oat milk gives great results!
Get ready to enjoy your new favorite treat! 🍯📌 Pin this recipe for your next cozy dinner night!
Vegan Honey Buns
Ingredients
Method
- In a bowl, combine non-dairy milk, agave nectar, and instant yeast. Let it sit for a few minutes.
- Mix in melted butter, flour, and salt until a dough forms. Knead until smooth.
- In another bowl, combine softened non-dairy butter, sugar, agave nectar, and ground cinnamon.
- Roll out the dough, spread the filling over it, and roll it up tightly.
- Cut into equal pieces and place them in a greased baking dish.
- Whisk together powdered sugar and non-dairy milk until smooth.
- Preheat the oven and bake until golden brown and fluffy.
- Drizzle with glaze while warm.