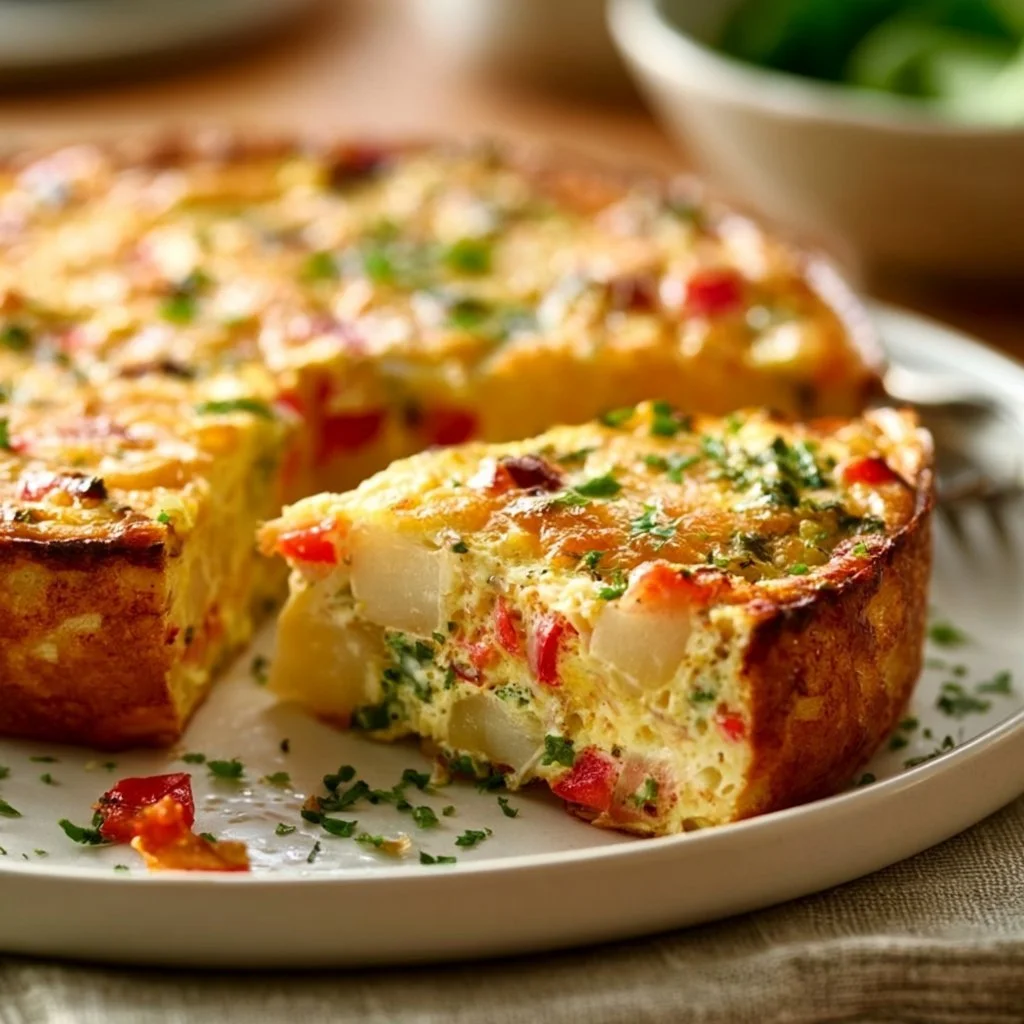
Potato Crust Quiche
The Savory Aroma of Potato Crust Quiche
Craving a dish that combines the crunch of potatoes with the fluffiness of eggs? Imagine biting into a slice of golden-brown quiche, where the crispy potato crust cradles a creamy filling packed with veggies and savory protein. It’s not just a breakfast treat; it’s a versatile dish perfect for brunch, lunch, or a cozy dinner!
Why Make This Recipe
You’ll love this Potato Crust Quiche for so many reasons!
- Easy Peasy: With just a few simple steps, you’ll whip up a dish that looks like you slaved away in the kitchen for hours.
- One-Pan Wonder: Less mess means more time enjoying delicious food with your peeps.
- Family-Friendly: Kids and adults alike will gobble this up, and you can sneak in those veggies without anyone noticing. 🙈
Ingredients
You don’t need fancy stuff — just these basics!
- 3 large potatoes, shredded
- 2 tablespoons olive oil
- 1 onion, diced
- 1 bell pepper, diced
- 6 eggs
- 1 cup dairy-free milk
- Salt and pepper to taste
- Optional: cooked chicken, turkey, or chickpeas
- Herbs of choice (e.g., thyme, parsley)
Directions
Getting this delicious quiche on your table is a breeze:
- Preheat the oven to 375°F (190°C).
- In a mixing bowl, combine the shredded potatoes and olive oil. Press the mixture into the bottom of a greased pie dish to form a crust.
- Bake the potato crust for 20-25 minutes, or until golden and crispy.
- In a skillet, sauté the onion and bell pepper until soft.
- In a separate bowl, whisk together the eggs, dairy-free milk, salt, and pepper. Add the sautéed vegetables and your choice of protein.
- Pour the egg mixture into the baked potato crust.
- Bake for an additional 30-35 minutes, or until the quiche is set and lightly browned on top.
- Let it cool slightly before slicing and serving.
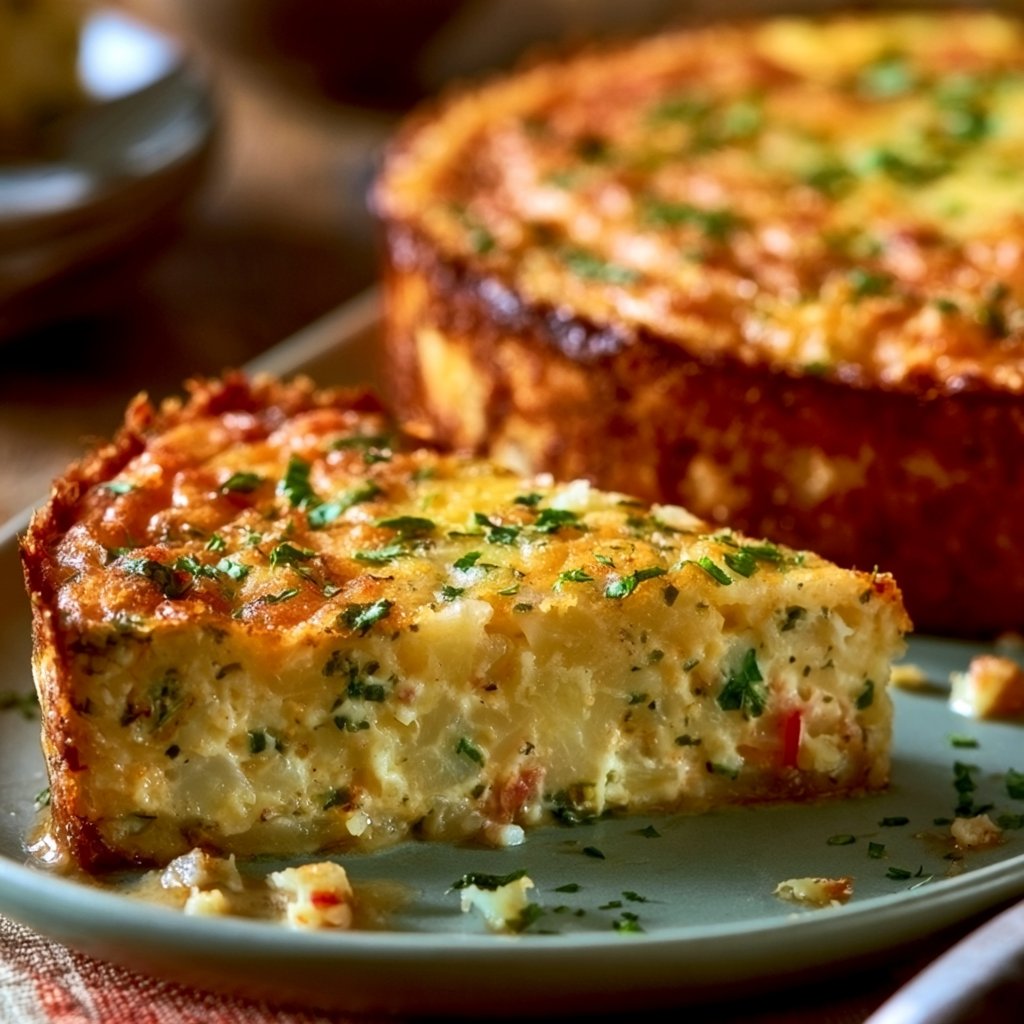
How to Make Potato Crust Quiche (Overview)
Think of this process as assembling a masterpiece in three easy acts.
- Crust creation: Combine those shredded potatoes with olive oil and press them down nice and firm in your pie dish.
- Flavor mix: Sauté your favorite veggies (bonus points for colors!) and whisk the eggs and dairy-free milk together.
- Bake and enjoy: Pour it all into the crust and let the magic happen in the oven—can’t you almost taste it?
Pro tip: Letting the quiche cool a bit before slicing helps it hold its shape.
How to Serve Potato Crust Quiche
This quiche is a spotlight-stealer! Serve it hot, warm, or at room temperature.
- Try garnishing it with a sprinkle of fresh herbs for a burst of color.
- Pair it with a crisp green salad dressed with lemon vinaigrette for a perfect balance.
- Don’t forget some fresh fruit on the side for a sweet touch! The flavors just explode in your mouth. 🍽️
How to Store Potato Crust Quiche
Keeping your leftovers is super simple!
- Store it in the fridge for up to 4 days. Just pop it in an airtight container.
- Want to make it ahead? You can freeze it for up to 3 months! Just ensure it’s fully cooled before wrapping it up tightly.
- Reheat slices in the oven or microwave to bring back that fresh-out-of-the-oven taste.
Tips to Make Potato Crust Quiche
Here are some quick insider tricks to elevate your quiche game:
- Texture Alert: Avoid soggy crust—bake it until it’s nice and crispy before adding the filling.
- Spice it Up: Experiment with different herbs like rosemary or basil for exciting flavor twists.
- Make it Max: Add more veggies like spinach or zucchini for a healthier kick.
- Protein Swap: Need it to be plant-based? Chickpeas or tofu can step in perfectly.
Variation
Feeling adventurous? Here are some fun changes you can make!
- For a vegan option, swap eggs with silken tofu blended with nutritional yeast for a cheesy flavor.
- Craving more spice? Add jalapeños or roasted red peppers for a kick.
- Switch up the herbs for seasonal flair—how about fresh chives in spring or sage in fall?
FAQs
1. Can I make this quiche ahead of time?
Absolutely! You can prepare the quiche the night before and just pop it in the oven when you’re ready!
2. What can I use instead of dairy-free milk?
You can use regular milk or any plant-based milk like almond or oat milk. Just choose what fits your diet!
3. How do I prevent the crust from getting soggy?
Pre-baking the potato crust until it’s golden-brown is key! Make sure to do this step and you’ll have a great base.
📌 Pin this recipe for your next cozy dinner night!
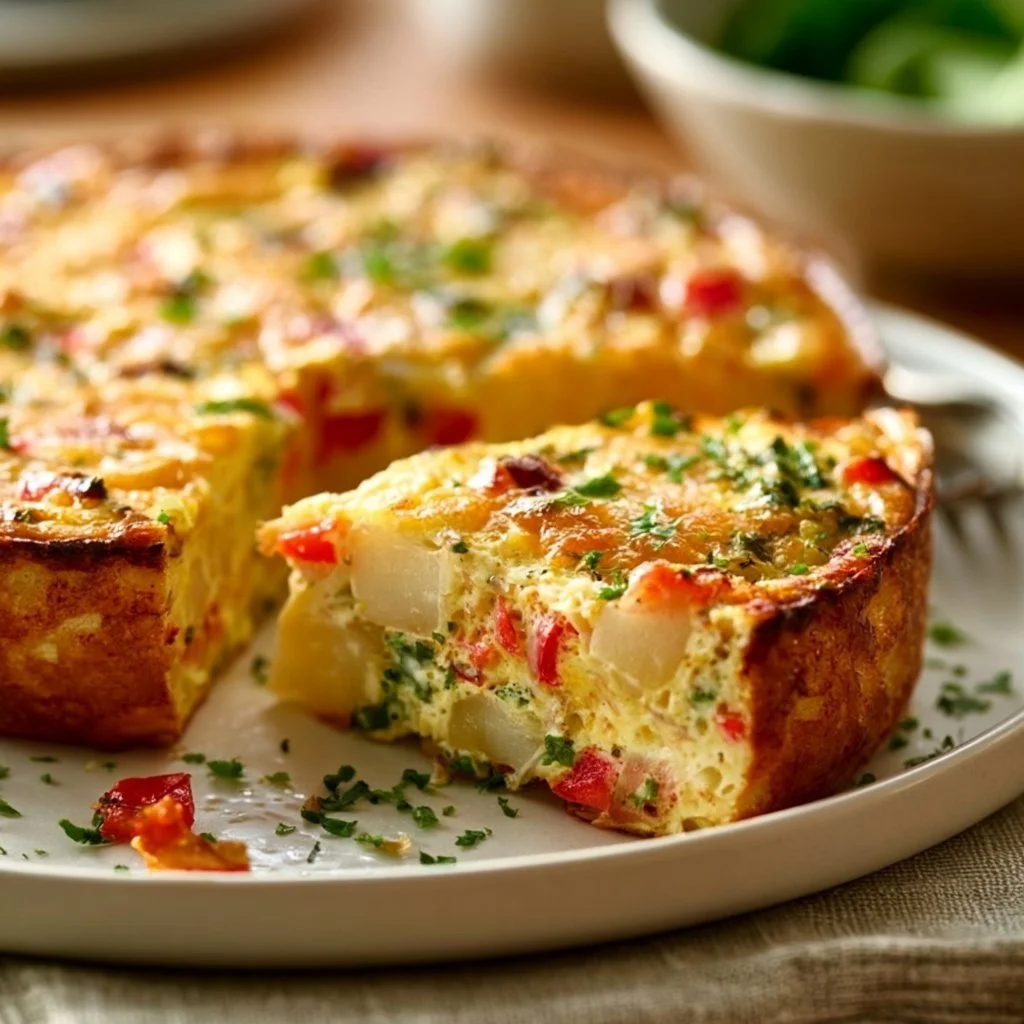
Potato Crust Quiche
Ingredients
Method
- Preheat the oven to 375°F (190°C).
- In a mixing bowl, combine the shredded potatoes and olive oil. Press the mixture into the bottom of a greased pie dish to form a crust.
- Bake the potato crust for 20-25 minutes, or until golden and crispy.
- In a skillet, sauté the onion and bell pepper until soft.
- In a separate bowl, whisk together the eggs, dairy-free milk, salt, and pepper. Add the sautéed vegetables and your choice of protein.
- Pour the egg mixture into the baked potato crust.
- Bake for an additional 30-35 minutes, or until the quiche is set and lightly browned on top.
- Let it cool slightly before slicing and serving.