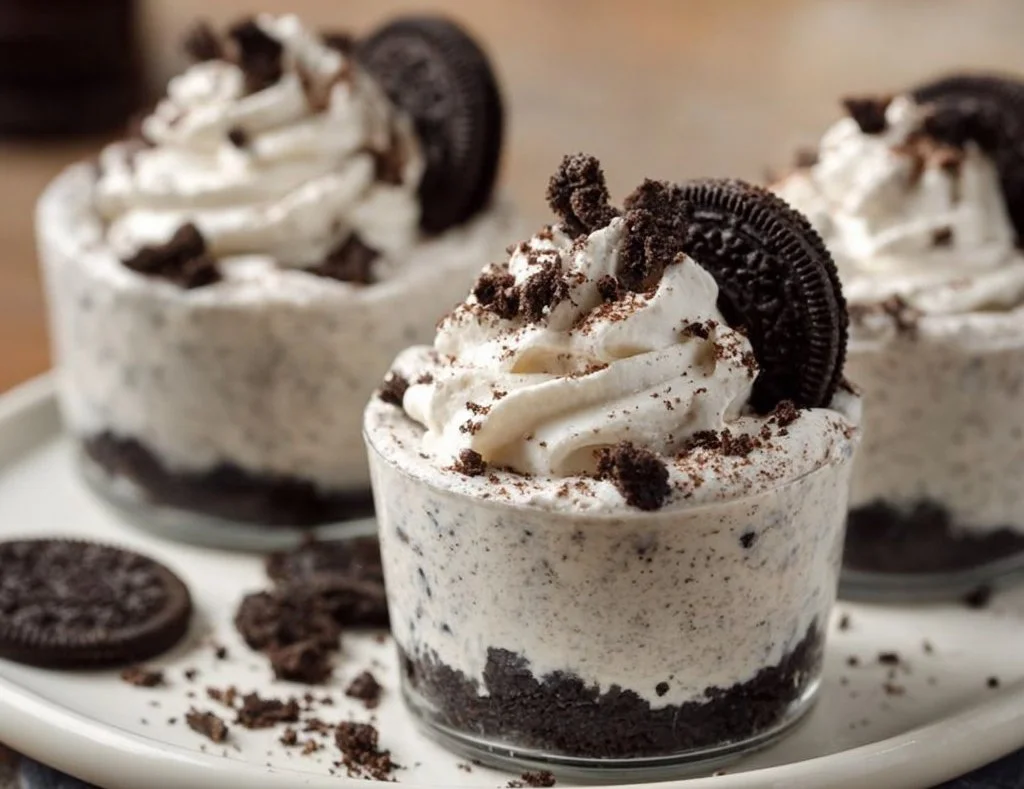
Oreo No-Bake Cheesecake Cups
Can’t Resist Those Creamy Layers?
Imagine digging into a silky, creamy dessert that’s bursting with chocolatey goodness. That’s exactly what you get with these Oreo No-Bake Cheesecake Cups! They’re quick to whip up—no baking required—and packed with flavor that’s sure to wow any gathering (or just yourself!). Trust me, you’re going to want to save this recipe.
Why Make This Recipe
Why should you dive into these delightful cups? Here are a few tasty reasons:
- Zero baking means less stress, and who doesn’t love that?
- They’re family-friendly—perfect for kids and adults alike!
- Cleanup is a breeze; just a few bowls, and you’re done. Seriously, you could almost call this a win-win-win! 😄
Ingredients:
You don’t need fancy stuff — just these basics!
- 1 8 oz block of cream cheese, softened
- 1 8 oz. Cool Whip or whipped topping
- 2/3 cup powdered sugar
- 1 teaspoon vanilla
- 24-26 Oreo cookies (more as desired)
Directions:
Let’s make this dreamy dessert! Follow these simple steps:
-
Place the Oreos in a plastic bag and seal it tight. Now, channel your inner chef and crush those cookies using a rolling pin or a sturdy wooden spoon.
-
Spoon 1 ½ – 2 tablespoons of the crushed Oreos into the bottom of 6 small dessert dishes (aim for 3/4 to 1 cup size). Set those aside; they’re looking good!
-
In a mixing bowl, whip together the softened cream cheese and powdered sugar until it’s creamy and smooth. Don’t be shy; get that mixer working!
-
Add in the vanilla and beat just to incorporate. Then, gently fold in the Cool Whip until everything is combined.
-
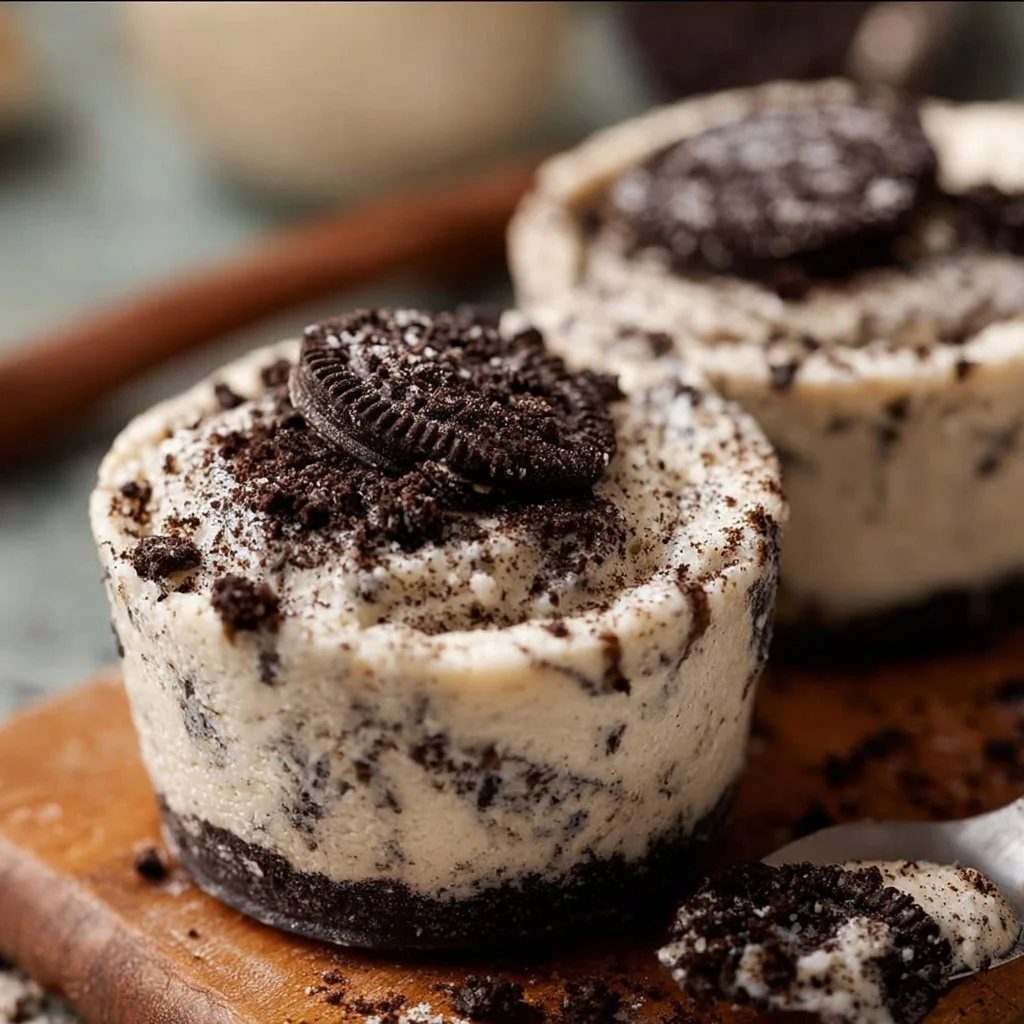
Fold in the remaining crushed Oreos—yup, all that tasty chocolate goodness.
-
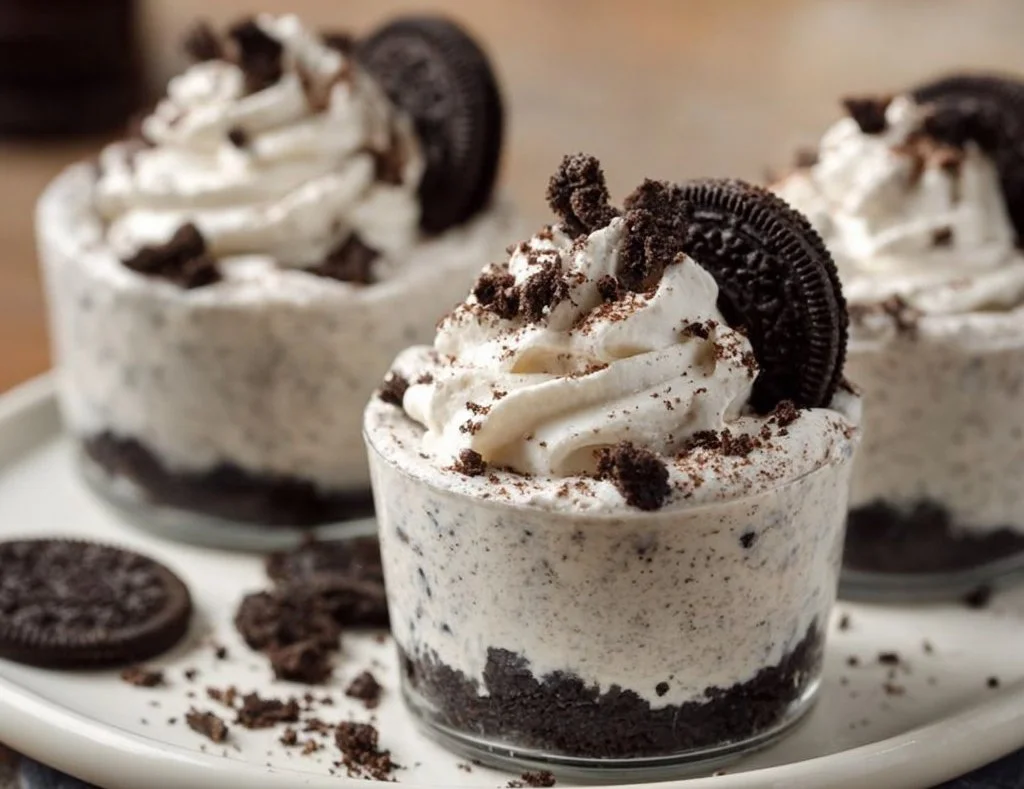
Divide the cheesecake filling evenly across the dishes and gently press it onto the crushed Oreos. Chill for about 1 hour or until you’re ready to serve.
-
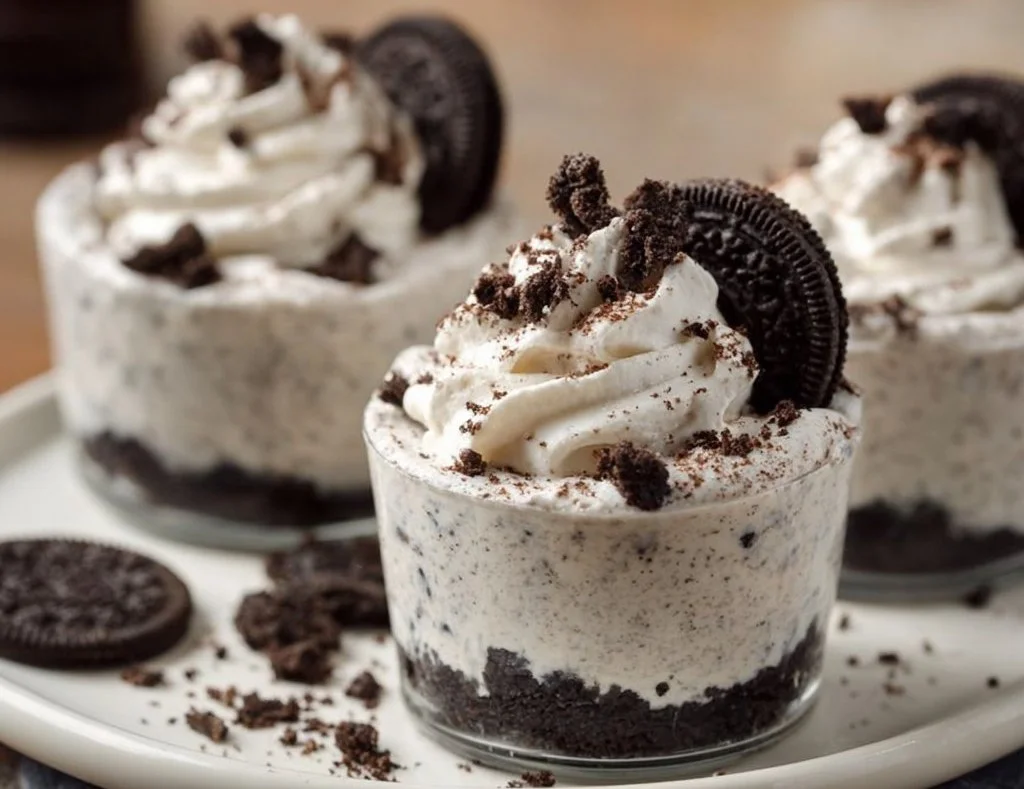
Top with more whipped cream and those extra crushed Oreos before serving. Enjoy! 😉
How to Make Oreo No-Bake Cheesecake Cups (Overview)
Making these cheesecake cups is as easy as counting to three! Basically, you crush Oreos, mix up that creamy goodness, layer them, and chill. It’s foolproof:
- Crush those Oreos.
- Mix up the cheesecake filling.
- Layer it all, chill, and it’s showtime!
Pro tip: Don’t skip chilling—this step makes all the difference in achieving that perfect texture!
How to Serve Oreo No-Bake Cheesecake Cups
When it comes to serving, get a little creative! Try:
- Adding a drizzle of chocolate or caramel sauce—as if it wasn’t rich enough!
- Sprinkling some crushed nuts for that added crunch.
- Serving with a side of fresh berries to balance the sweetness.
The contrast of the cool, creamy filling with the crunchy Oreos is pure bliss!
How to Store Oreo No-Bake Cheesecake Cups
These delectable cheesecake cups can chill in the fridge for up to 3-4 days. Want to make them ahead of time? Perfect! Just store them covered in the fridge. As for the freezer, you can freeze them in an airtight container for up to a month—just let them thaw in the fridge overnight before enjoying!
Tips to Make Oreo No-Bake Cheesecake Cups
Here are some quick insider tricks to get it just right:
- Soften the cream cheese completely for that blendable texture.
- Use less sugar if you prefer a less sweet dessert (you do you!).
- Add a splash of Irish cream liqueur for an adult twist—because why not?
Variation
Want to change things up? Here’s how:
- Go vegan by swapping the cream cheese with a plant-based alternative and using non-dairy whipped topping.
- Try different cookies like peanut butter ones—your taste buds will thank you!
FAQs
Can I use regular whipped cream instead of Cool Whip?
Absolutely! Just whip it until you have soft peaks—it’ll add a lovely homemade touch.
How far in advance can I make these?
You can make them up to a day ahead! Just cover them and keep them in the fridge.
Can I freeze these cheesecake cups?
Yes, you can! Just pop them in an airtight container and freeze them for up to a month.
📌 Pin this recipe for your next cozy dinner night!
Oreo No-Bake Cheesecake Cups
Ingredients
Method
- Place the Oreos in a plastic bag and crush them using a rolling pin or a sturdy wooden spoon.
- Spoon 1 1/2 – 2 tablespoons of the crushed Oreos into the bottom of 6 small dessert dishes.
- In a mixing bowl, whip together the softened cream cheese and powdered sugar until creamy and smooth.
- Add in the vanilla and beat just to incorporate. Gently fold in the Cool Whip until combined.
- Fold in the remaining crushed Oreos.
- Divide the cheesecake filling evenly across the dishes and gently press it onto the crushed Oreos.
- Chill for about 1 hour or until ready to serve.
- Top with more whipped cream and extra crushed Oreos before serving.