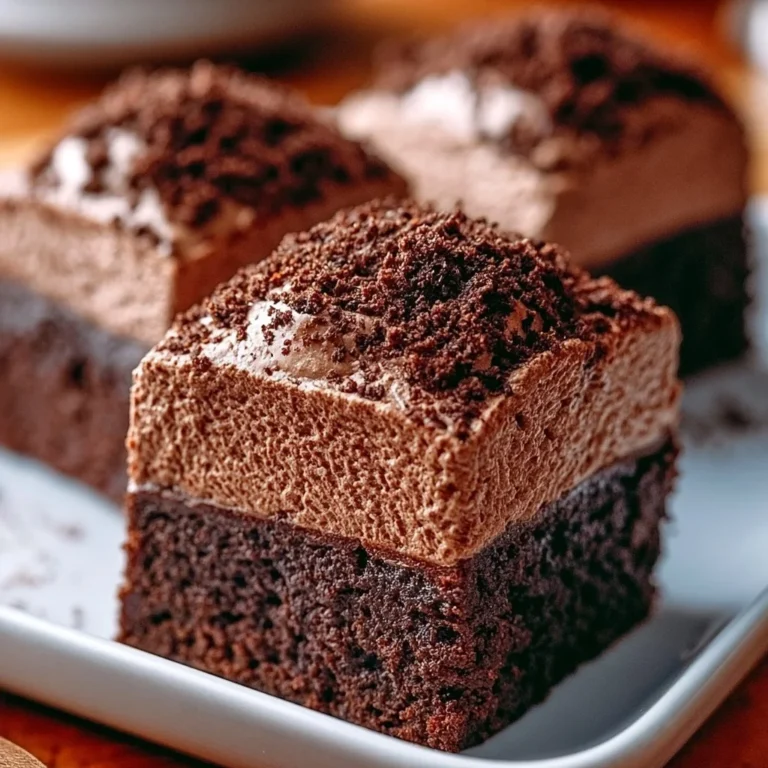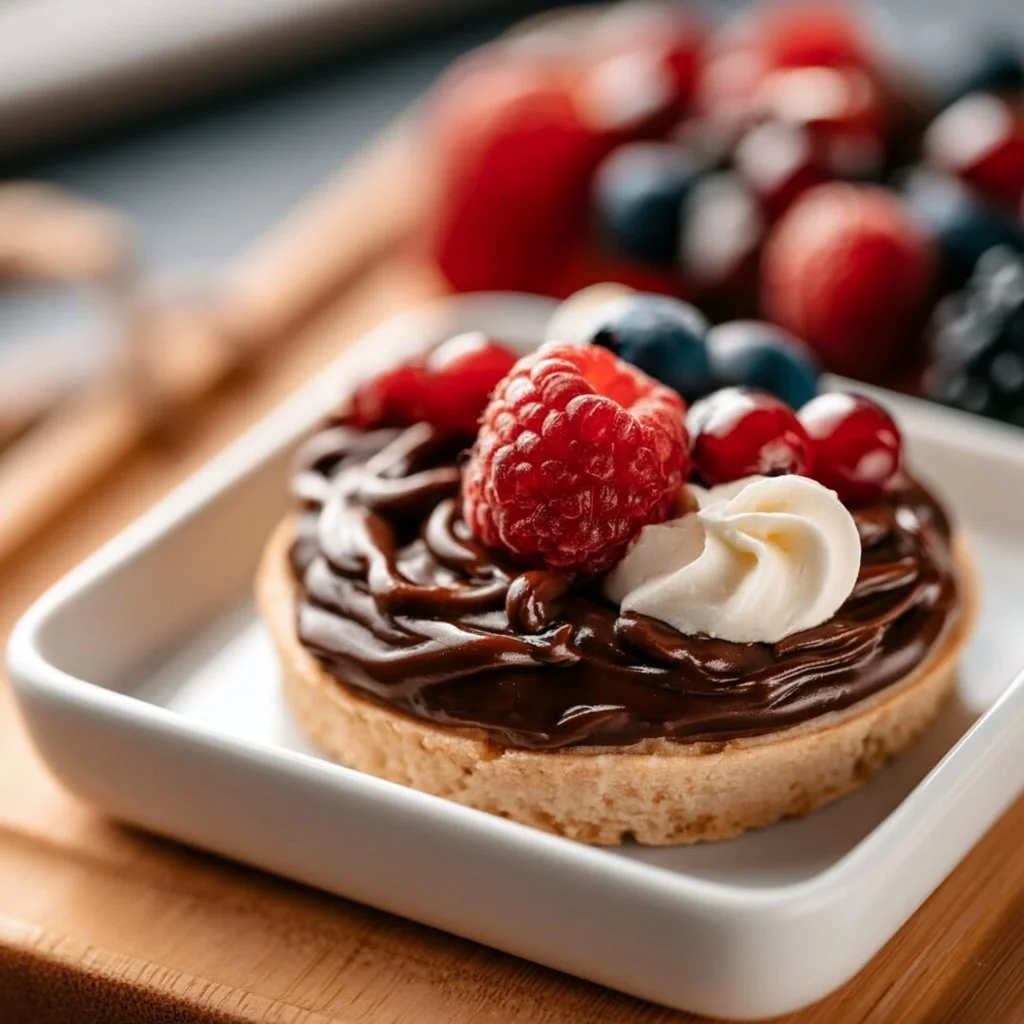
Mini Dessert Cutting Board
A Sweet Slice of Heaven
Ever bitten into a dessert so delightful that it felt like a hug for your taste buds? Enter the Mini Dessert Cutting Board — a charming platter that screams indulgence without the fuss. This quick and easy treat brings together a vibrant medley of sweets, making it perfect for parties or cozy nights in. Who knew a cutting board could become the center of dessert envy?
Why Make This Recipe
Why should you whip up this Mini Dessert Cutting Board? Well, let’s break it down:
- Zero Cleanup Stress: That’s right — no pots or pans! Just a board and a few delightful bites.
- Budget-Friendly Fun: You can grab some fab sweets without emptying your wallet.
- Family & Friends Approved: Kids and adults alike will go gaga over the colorful offerings. Seriously, who doesn’t love a mini cupcake?
Ingredients
You don’t need fancy stuff — just these basics!
- Assorted bite-sized sweets: chocolate truffles, brownies, mini cupcakes
- Fresh fruit: strawberries, grapes, kiwi
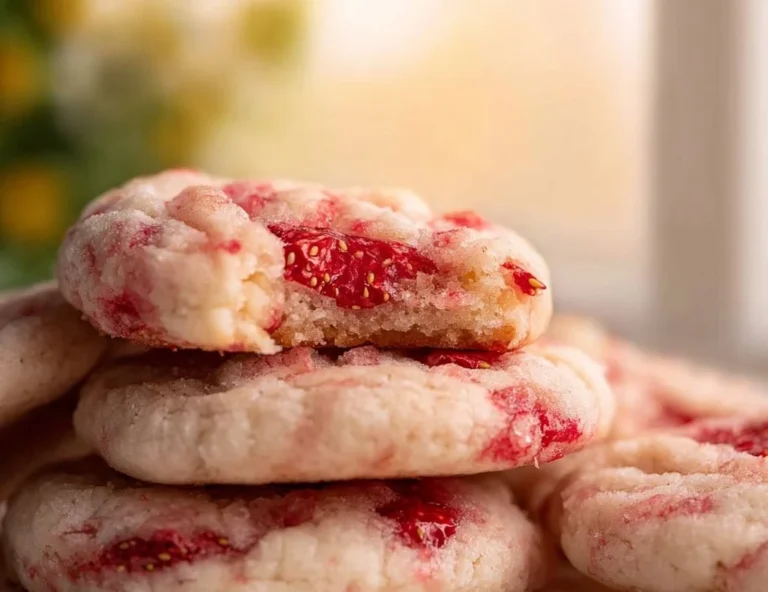
- Cookies: store-bought or homemade
- Various candy treats: gummy bears, chocolate bars
Directions
- Select a variety of bite-sized sweets and fresh fruit.
- Arrange the sweets and fruit attractively on a cutting board.
- Include cookies and any additional treats you desire.
- Serve at room temperature for parties or gatherings.

How to Make Mini Dessert Cutting Board (Overview)
Let’s roll out how simple this is! First, wander through your local grocery store — or your pantry! — and grab those delightful little sweets. The fun part is selecting a colorful array!
- Pro tip: Mix and match textures — add something crunchy beside gooey truffles for that perfect contrast. It’s all about the balance, people!
Next, let your artistic side shine as you arrange everything on the cutting board. Go wild with the layout — don’t stress about perfection here!
The key? Just make it pretty and edible!
How to Serve Mini Dessert Cutting Board
Picture this: a beautifully arranged board bursting with colors and textures! Fresh strawberries gleaming next to rich, dark brownies, and vibrant gummy bears peeking from behind a mini cupcake. All these sweets beckon you with their delightful aromas.
- For an added touch, pair it with some homemade whipped cream or a scoop of vanilla ice cream. Yum!
How to Store Mini Dessert Cutting Board
Want to savor leftovers? This beauty stays fresh for 1-2 days in the fridge. Just cover it with plastic wrap to keep everything nice and moist.
- Make-ahead tip: Prep your board in advance and store the sweets separately to maintain freshness. Assemble it before guests arrive to keep things exciting!
Tips to Make Mini Dessert Cutting Board
- Fruity Facelift: Use seasonal fruits for a fresh twist!
- Sweet Substitutes: Swap out traditional candies for vegan alternatives if you prefer a plant-based board.
- Textures Matter: Add some crunchy nuts or toffee bits alongside the smooth truffles for a delightful surprise!
Variation
Feeling adventurous? You can easily turn this into a themed board! Think Halloween with orange candies and ghost-shaped cookies or a birthday bash sprinkled with colorful cake pops. 🎉
FAQs
1. How can I make this dessert board ahead of time?
You can prep the sweets and fruit a day in advance, just cover them well in the fridge.
2. Can I use store-bought desserts?
Absolutely! The beauty of this recipe is its flexibility. Use anything that catches your eye or taste!
3. How long can I keep leftovers?
It’s best to eat it within 1-2 days, but trust me, it rarely lasts long!
📌 Pin this recipe for your next cozy dinner night!
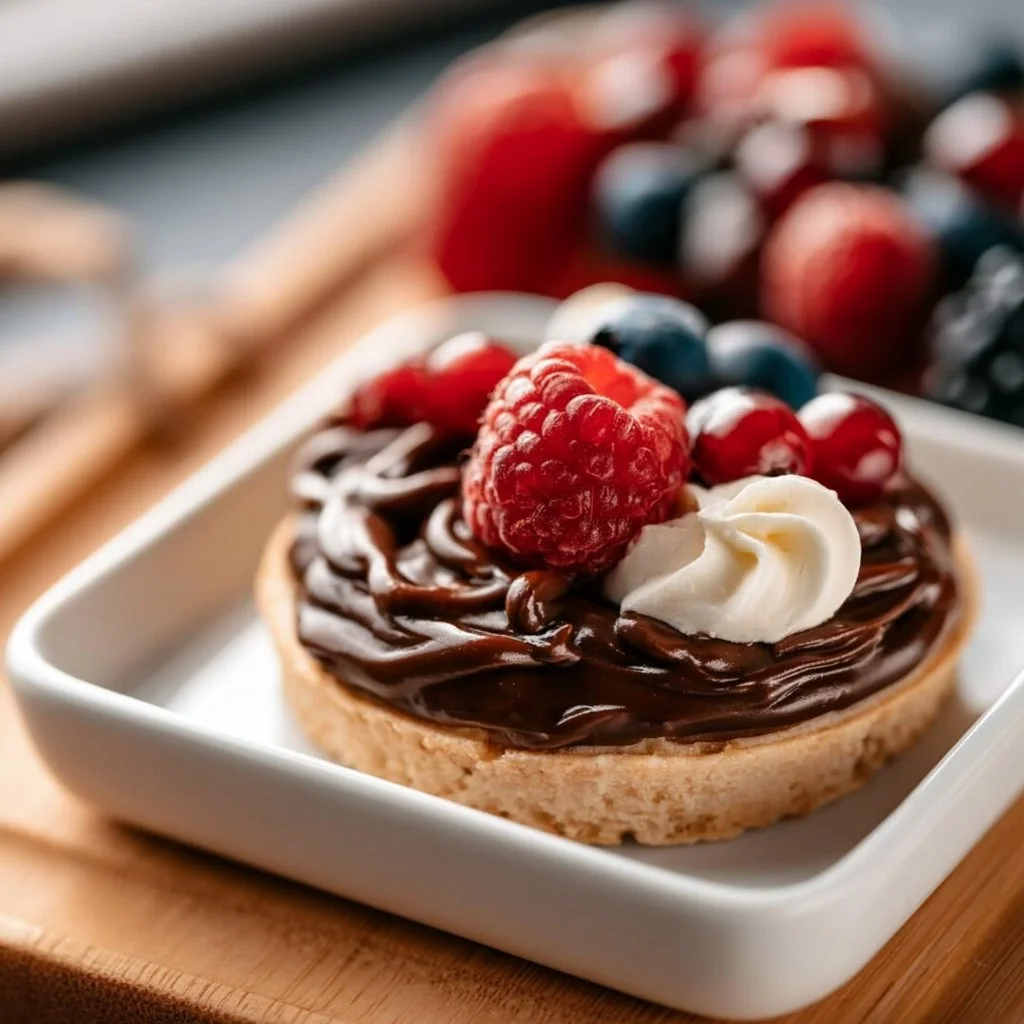
Mini Dessert Cutting Board
Ingredients
Method
- Select a variety of bite-sized sweets and fresh fruit.
- Arrange the sweets and fruit attractively on a cutting board.
- Include cookies and any additional treats you desire.
- Serve at room temperature for parties or gatherings.