Dessert Tacos
Ever had dessert that feels like a party in your mouth?
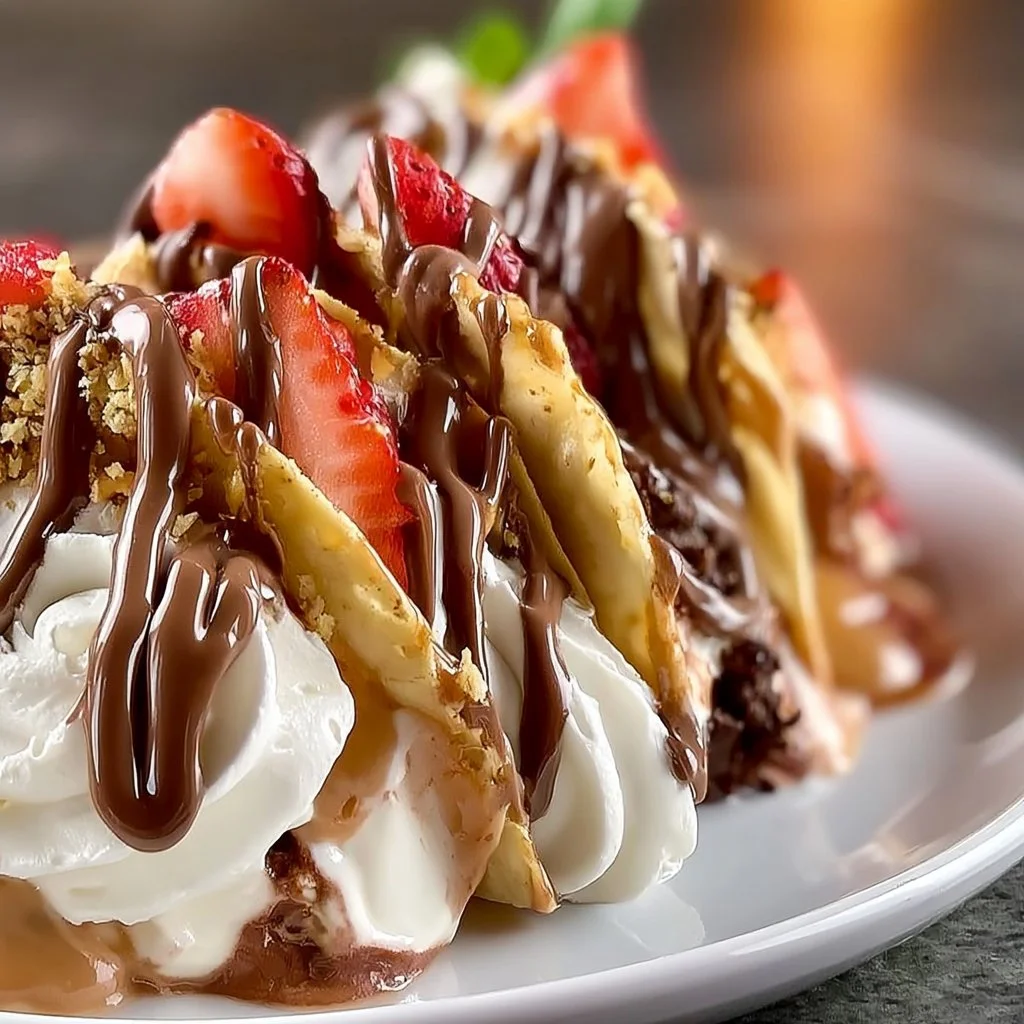
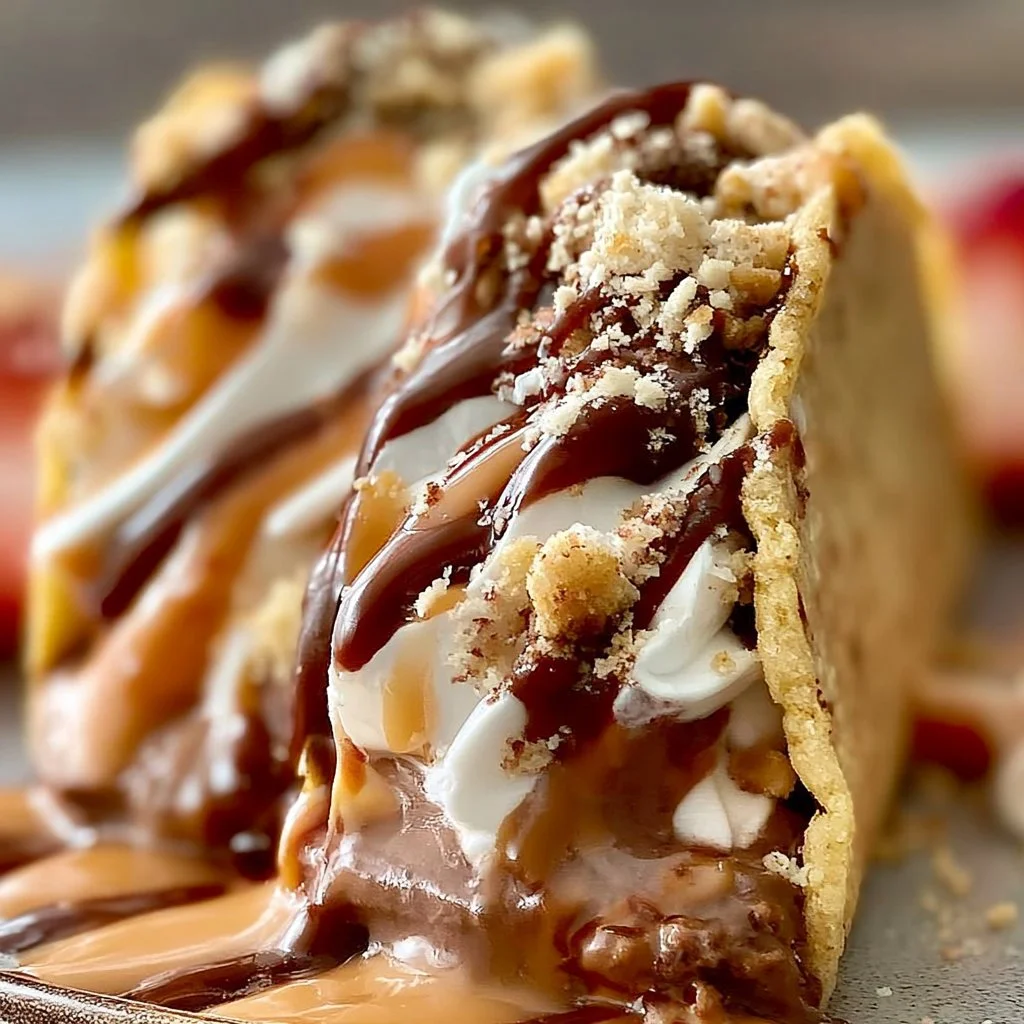
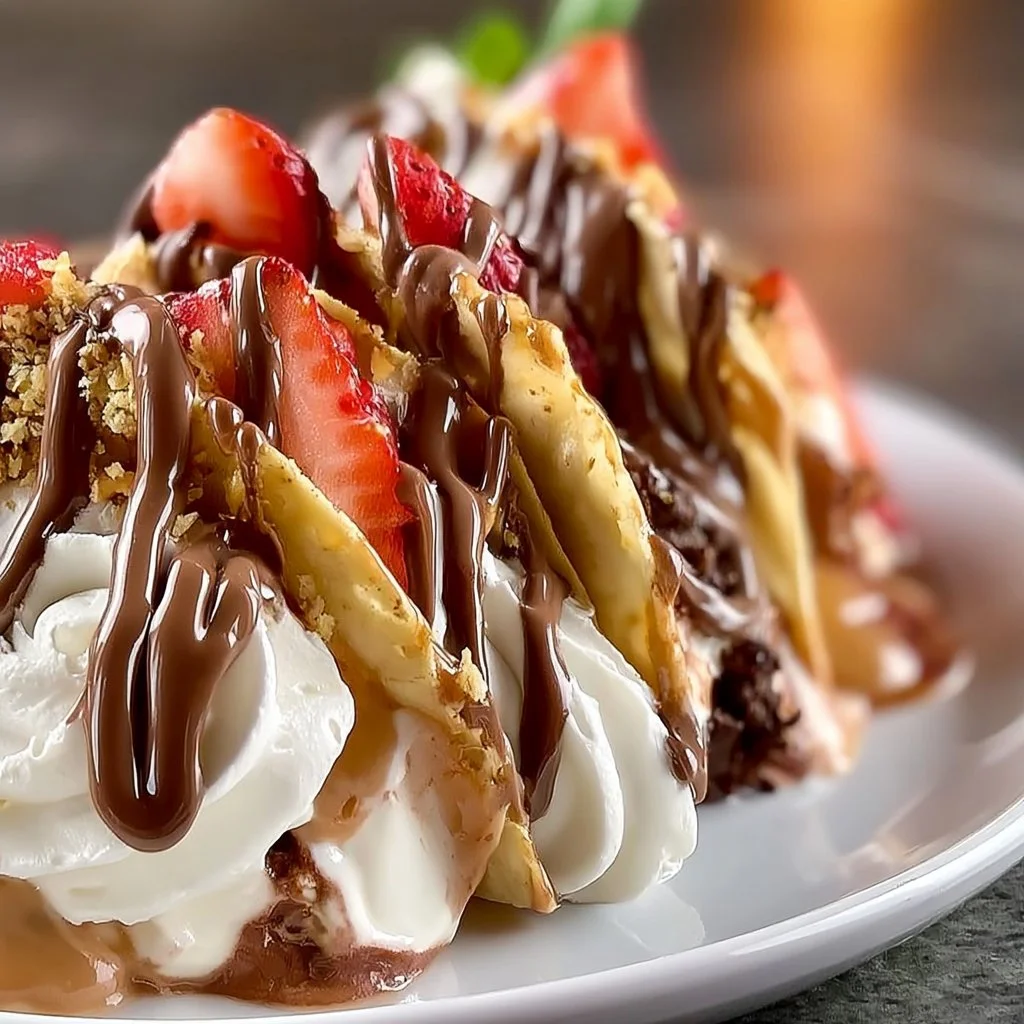
Imagine biting into a crunchy taco shell filled with creamy goodness and topped with fresh fruit or chocolate. Dessert Tacos are the next big thing – quick, fun, and a guaranteed hit for any gathering. They are not just a sweet treat; they are an experience waiting to happen! So, grab your sweet tooth and let’s dive into this deliciousness.
Why make this recipe
What’s not to love about something that’s not only delicious but also super easy to make? Here are a couple of reasons you’ll adore these Dessert Tacos:
- No fuss, all fun: This recipe promises quick cleanup and minimal mess. Who doesn’t love a fast dessert?
- Customizable: Everyone can build their own dessert taco just the way they like it! Family-friendly? Oh, absolutely!
Ingredients
You don’t need fancy stuff — just these basics!
- Taco shells or mini flour tortillas
- Cream cheese or mascarpone cheese
- Powdered sugar
- Vanilla extract
- Fresh fruit (e.g., strawberries, bananas, blueberries)
- Chocolate chips or melted chocolate
- Sprinkles or chopped nuts
- Whipped cream
Directions
- In a mixing bowl, combine cream cheese (or mascarpone), powdered sugar, and vanilla extract. Mix until smooth.
- Fill each taco shell with the creamy filling.
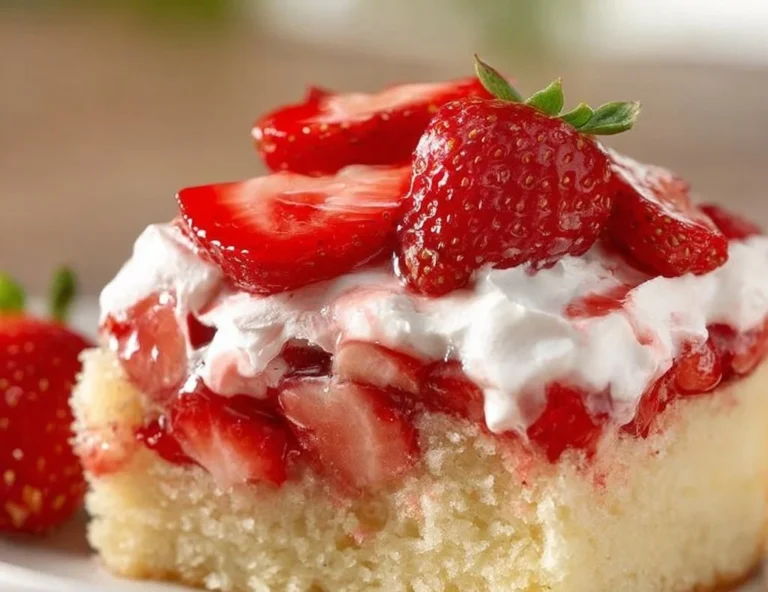
- Top with fresh fruit, chocolate chips, and any other desired toppings.
- Add a dollop of whipped cream on top.
- Serve immediately and enjoy!
How to make Dessert Tacos (Overview)
Making Dessert Tacos is as simple as 1-2-3… and maybe a 4 if you enjoy licking the spoon! Start by mixing your cream cheese and other ingredients until you achieve that dreamy, creamy texture. Then, load up your taco shells with the filling and get your toppings ready. Pro tip: The secret to a heavenly taste is balancing the creaminess with fresh fruit and a sprinkle of chocolate. Don’t skip the whipped cream — it brings everything together!
How to serve Dessert Tacos
Let your creativity shine! Serve these on a colorful platter with a variety of toppings. Think vibrant berries, rich melted chocolate, and a sprinkle of nuts for that perfect crunch. Your guests will be treated to a stunning spread that looks as good as it tastes. Just imagine that pop of color against the creamy filling — it’ll be an Instagram-worthy moment for sure!
How to store Dessert Tacos
If you somehow have leftovers (who are we kidding?), pop them in the fridge. They’ll stay fresh for about 2-3 days. It’s best not to store them with the toppings — keep the shells separate to avoid sogginess. Not planning to serve them right away? Make the filling ahead and just assemble before serving!
Tips to make Dessert Tacos
- Use mascarpone cheese for a richer flavor – you might never want cream cheese again!
- For a vegan option, swap regular cheese for a dairy-free alternative.
- Want it crunchier? Toast your taco shells lightly before filling. Trust me, it’s worth it!
- You can mix in a bit of peanut butter or Nutella into the filling for a delicious twist.
- Don’t forget to taste as you go – it’s all about the balance of flavors!
Variation
Feel free to jazz this up! Use different spices like cinnamon or cocoa powder in your filling. Switch up fresh fruits based on what’s in season, or even try adding some tangy yogurt as a layer. The possibilities are endless!
FAQs
1. Can I make Dessert Tacos ahead of time?
Yes! You can prepare the filling and store it in the fridge for about 2-3 days. Just assemble the tacos right before serving for the best crunch!
2. What toppings can I use?
Think fresh fruits, crushed cookies, sprinkles, or even a drizzle of caramel sauce. Make it your own!
3. Are these gluten-free?
If you use gluten-free taco shells or wraps, then absolutely! Just check the ingredients to make sure.
📌 Pin this recipe for your next cozy dinner night!
Dessert Tacos
Ingredients
Method
- In a mixing bowl, combine cream cheese (or mascarpone), powdered sugar, and vanilla extract. Mix until smooth.
- Fill each taco shell with the creamy filling.
- Top with fresh fruit, chocolate chips, and any other desired toppings.
- Add a dollop of whipped cream on top.
- Serve immediately and enjoy!