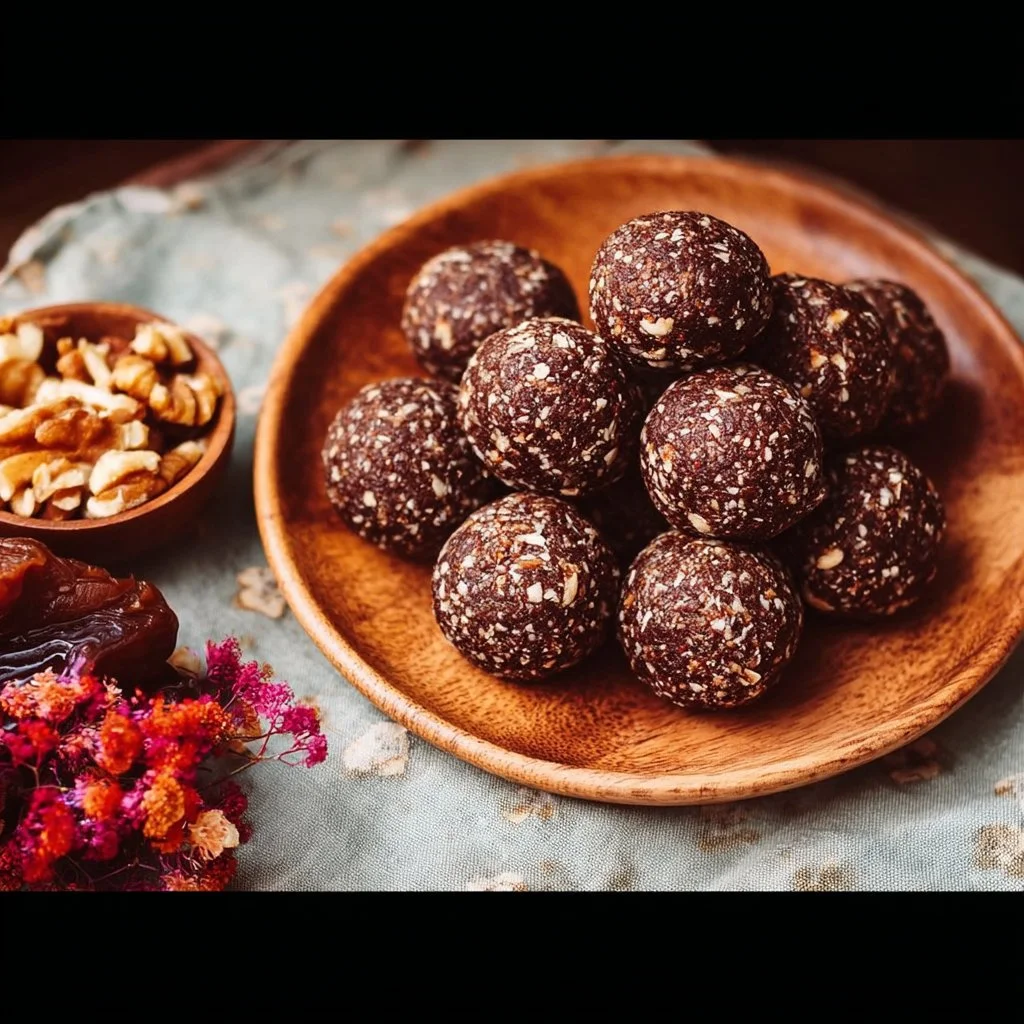
Date Cocoa Balls – Chocolate Energy Balls
Why Make This Recipe
Date Cocoa Balls, also known as Chocolate Energy Balls, are a fantastic snack. They are not only delicious but also packed with energy. Made primarily from natural ingredients, these little treats are perfect for a quick pick-me-up or a healthy dessert. Plus, they are easy to make and require no baking!
How to Make Date Cocoa Balls
Ingredients:
- 150 g dates
- 30 g oats
- 3 tablespoons cocoa powder (about 25g)
- 60 g walnuts (or any other nuts)
- 1 teaspoon vanilla extract
- 1 tablespoon coconut oil
- ½ teaspoon cinnamon (more to taste)
- Optional: a bit of water or plant-based milk
Directions:
- Soak the dates in hot water for about 10-15 minutes. This softens them and makes them easier to mash.
- Drain the water and squeeze the dates to remove any excess water.
- Put the soaked dates, oats, cocoa powder, walnuts, vanilla extract, coconut oil, and cinnamon into a food processor. Blend until a dough forms. The dough should be moldable.
- If the mixture is too sticky, add a bit more oats. If it seems too dry, add a splash of water or plant-based milk.
- Roll the mixture into 10-12 small balls. You can enjoy them right away or chill them in the refrigerator for about 30 minutes to firm them up.
How to Serve Date Cocoa Balls
Date Cocoa Balls can be served as a healthy snack or dessert. You can also roll them in cocoa powder, shredded coconut, or chopped nuts for extra flair. They are great for parties, school lunches, or just as a treat for yourself!
How to Store Date Cocoa Balls
To store Date Cocoa Balls, place them in an airtight container. You can keep them in the fridge for up to a week or freeze them for longer storage. If frozen, just let them sit out for a few minutes to soften before eating.
Tips to Make Date Cocoa Balls
- Make sure to soak the dates thoroughly for the best texture.
- You can adjust the sweetness by adding more or fewer dates as per your taste.
- Experiment with different nuts and spices for varied flavors.
Variation
Feel free to add other ingredients like chia seeds, hemp seeds, or dried fruits to customize your Date Cocoa Balls. You can also use different types of nut butter for added creaminess.
FAQs
1. Can I use other nuts instead of walnuts?
Yes, you can use any nuts you like or even seeds for a nut-free version.
2. Are Date Cocoa Balls suitable for vegans?
Absolutely! All the ingredients are plant-based, making them a great vegan snack.
3. How long do these energy balls last?
When stored in an airtight container in the fridge, they can last up to a week. If you freeze them, they will last for several months.

Date Cocoa Balls
Ingredients
Method
- Soak the dates in hot water for about 10-15 minutes to soften them.
- Drain the water and squeeze the dates to remove excess water.
- In a food processor, combine the soaked dates, oats, cocoa powder, walnuts, vanilla extract, coconut oil, and cinnamon. Blend until a dough forms.
- If the dough is too sticky, add a bit more oats. If too dry, add a splash of water or plant-based milk.
- Roll the mixture into 10-12 small balls.
- Enjoy them immediately or chill in the refrigerator for about 30 minutes to firm up.