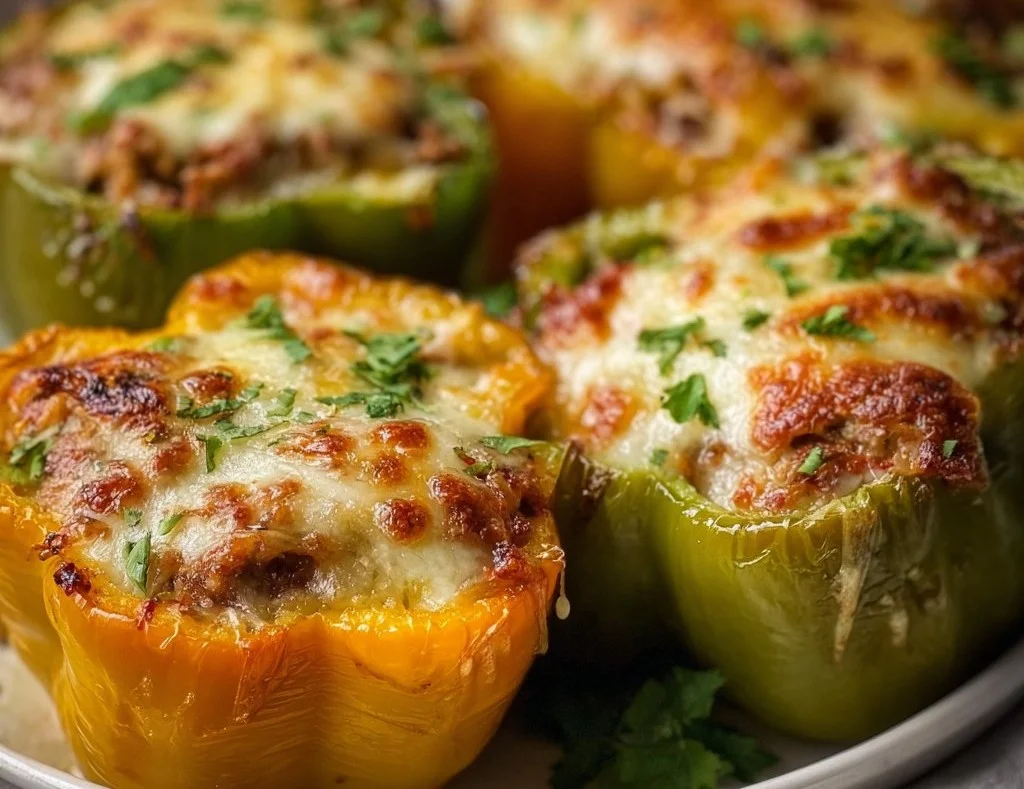
Cheesy Stuffed Bell Peppers
What’s Better than a Hug in a Bowl?
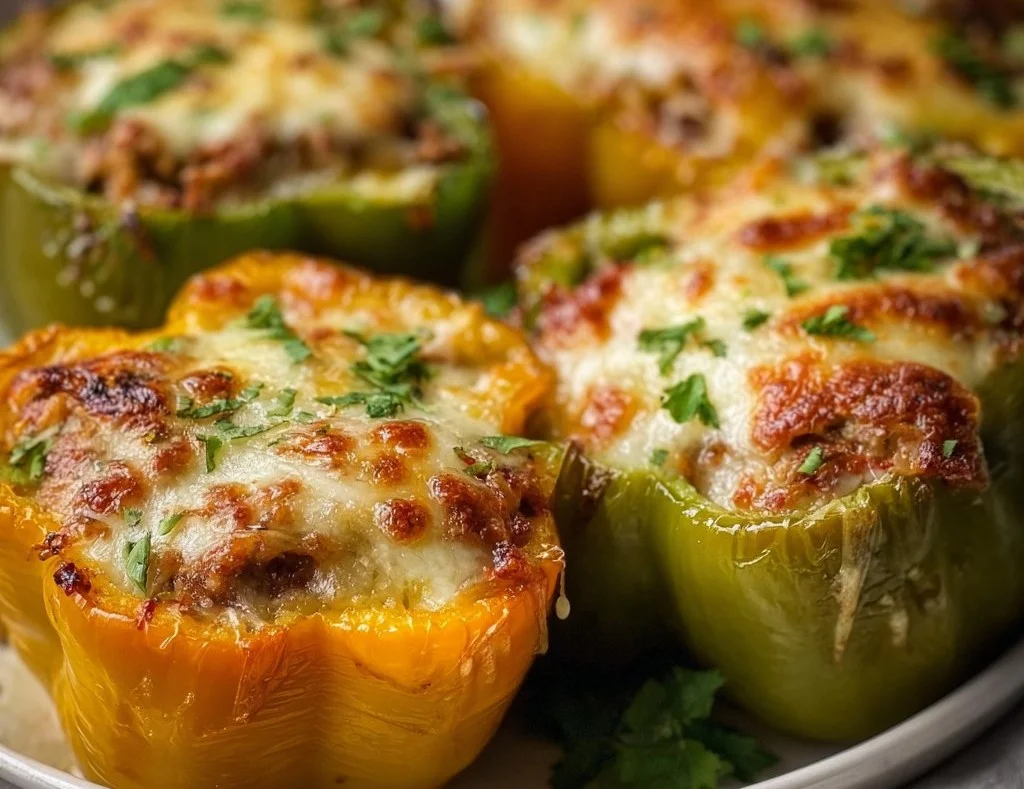
Imagine diving into a plate of cheesy goodness that wraps around your taste buds like a warm embrace. That’s exactly what you’ll get with these Cheesy Stuffed Bell Peppers! They’re not just any usual stuff; they’re loaded with lean ground beef, melty cheese, and a hint of spice. And the best part? You’ll have a nutritious meal ready in no time, using just one pan. Who doesn’t love an easy cleanup?
Why Make This Recipe
You’ll love this recipe for many reasons:
- Easy Cleanup: One pan magic means less time scrubbing dishes and more time enjoying.
- Family-Friendly: Kids and adults alike can’t resist the cheesy allure of these peppers.
- Affordable Ingredients: You won’t break the bank stocking up on these simple staples.
Seriously, cooking doesn’t have to be complicated, right?
Ingredients
You don’t need fancy stuff — just these basics!
- 4 large bell peppers
- 1 lb lean ground beef
- 1 cup cooked brown rice
- 1 cup shredded cheese
- 1 can diced tomatoes
- 1 tablespoon olive oil
- 1 teaspoon garlic powder
- 1 teaspoon onion powder
- Salt and pepper to taste
Directions
- Preheat your oven to 375°F (190°C).
- Cut the tops off the bell peppers and remove the seeds.
- In a skillet, heat olive oil over medium heat and cook the ground beef until browned.
- Add the cooked brown rice, diced tomatoes, garlic powder, onion powder, and salt & pepper to the skillet and mix well.
- Stuff each bell pepper with the beef and rice mixture.
- Place the stuffed peppers in a baking dish and sprinkle with shredded cheese on top.
- Cover with foil and bake for 20 minutes, then remove the foil and bake for an additional 10 minutes, or until the peppers are tender and cheese is bubbly.
- Serve warm.
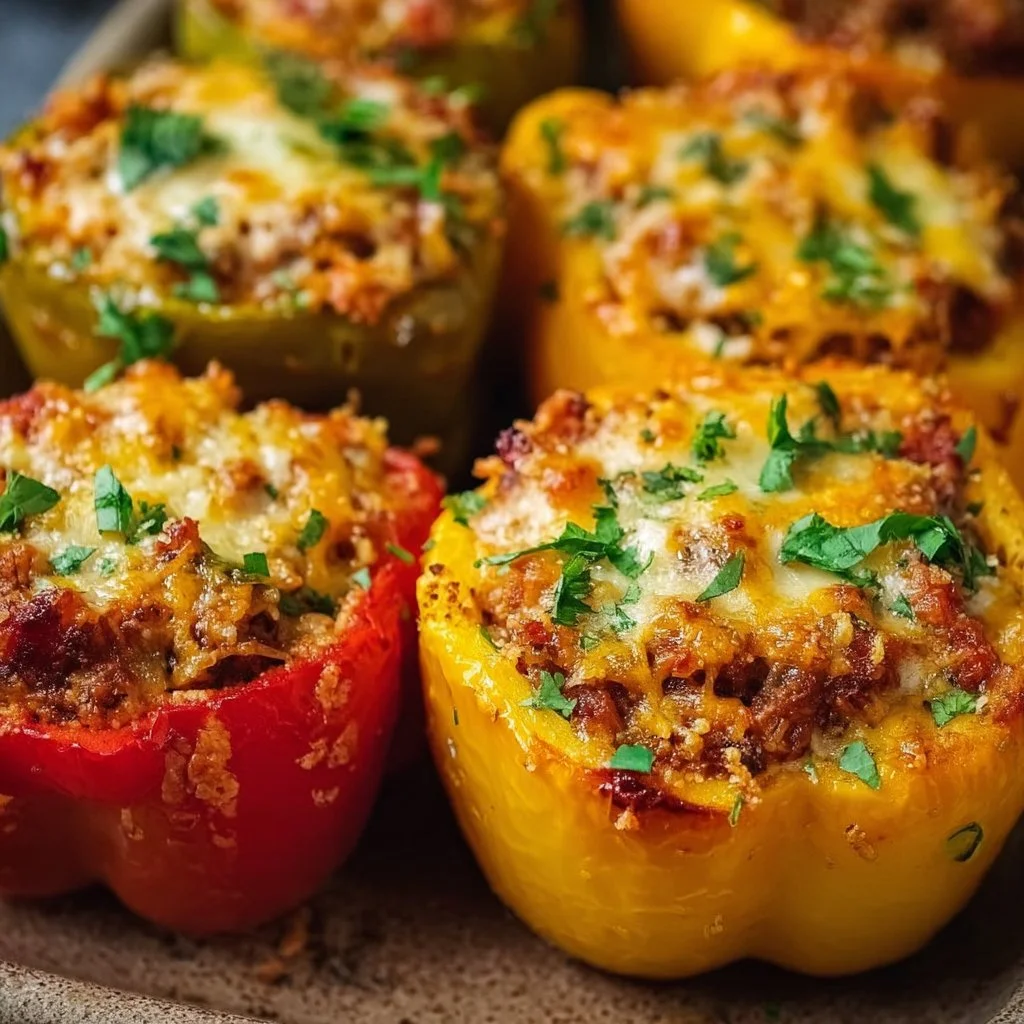
How to Make Cheesy Stuffed Bell Peppers (Overview)
Let’s break this down nicely. First, you’ll chop the tops off those bell peppers like a pro chef. Next, you’ll brown your ground beef and combine it with tasty ingredients in a skillet. Afterward, the fun part rolls in — stuff those bell peppers like they’re your favorite toy being packed with care. Finally, sprinkle cheese like confetti on top and let the oven work its magic. Pro tip: Don’t skip toasting the garlic — it really kicks up the flavor!
How to Serve Cheesy Stuffed Bell Peppers
These stuffed beauties make for a stunning centerpiece on any dinner table. Imagine serving them with a crisp green salad on the side, adding a pop of color and crunch. And the aroma? It’ll draw everyone into the kitchen like a magnet. For an extra treat, drizzle a little hot sauce or a dollop of sour cream on top just before serving. Yum!
How to Store Cheesy Stuffed Bell Peppers
Got leftovers? Just pop them in the fridge, and they’ll keep well for about 3 to 4 days. Wanna save some for later? Freeze them! Wrap those peppers up nice and tight, and they can last up to 3 months in the freezer. When you’re ready to enjoy, just reheat in the oven or microwave until heated through. It’s like having a little treasure in your freezer! 😊
Tips to Make Cheesy Stuffed Bell Peppers
- If you’re short on time, use pre-cooked rice — it’ll shave off precious minutes.
- Grab some vegetarian meat substitutes for a meat-free version. No one will miss the beef!
- If you love extra cheese (who doesn’t?), throw on an extra handful just before the final bake.
- Add spices like cumin or chili powder for a kick that’ll spice up your night!
Variation
Feel like switching it up? Try using quinoa instead of brown rice for a different texture. You could also toss in some black beans or corn for a Tex-Mex twist. Plus, if you’re keen on going vegan, opt for plant-based meat and dairy-free cheese. Your taste buds won’t be disappointed!
FAQs
Can I make these peppers ahead of time?
Absolutely! Prep and stuff the peppers, then store them in the fridge for up to 24 hours before baking.
What can I substitute for ground beef?
You can use ground turkey, chicken, or even a veggie crumble for a lighter option.
How do I reheat these stuffed peppers?
Reheat in the oven at 350°F (175°C) for about 15-20 minutes, or in the microwave for quick convenience.
📌 Pin this recipe for your next cozy dinner night!
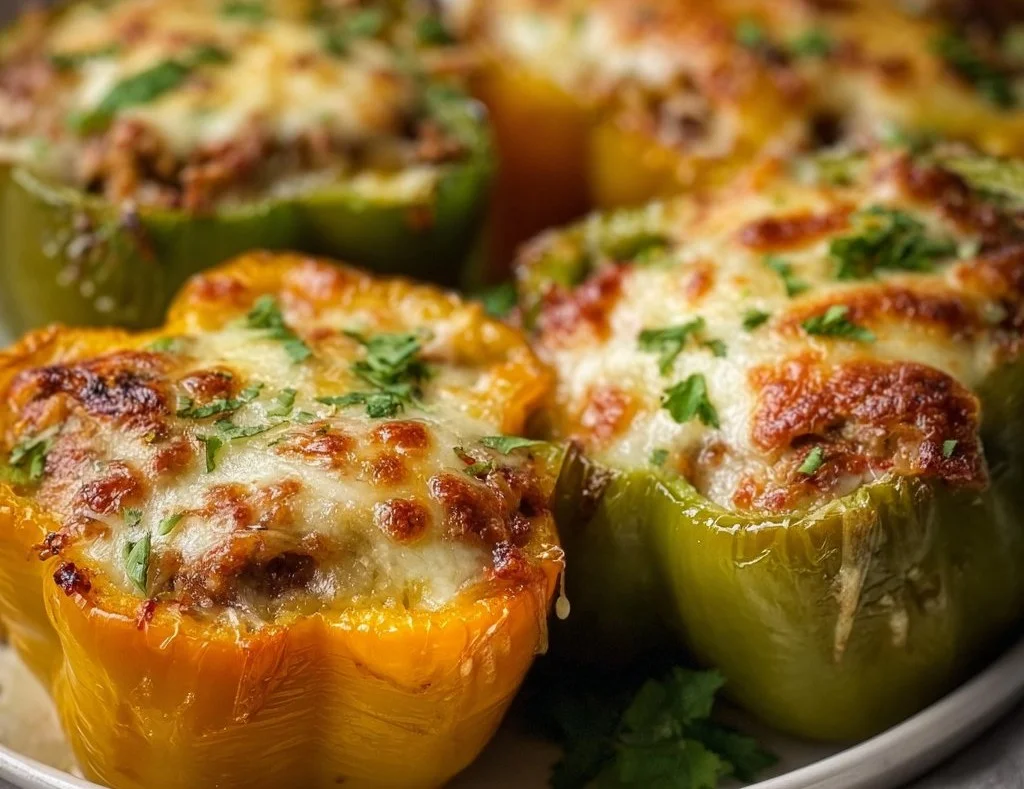
Cheesy Stuffed Bell Peppers
Ingredients
Method
- Preheat your oven to 375°F (190°C).
- Cut the tops off the bell peppers and remove the seeds.
- In a skillet, heat olive oil over medium heat and cook the ground beef until browned.
- Add the cooked brown rice, diced tomatoes, garlic powder, onion powder, and salt & pepper to the skillet and mix well.
- Stuff each bell pepper with the beef and rice mixture.
- Place the stuffed peppers in a baking dish and sprinkle with shredded cheese on top.
- Cover with foil and bake for 20 minutes, then remove the foil and bake for an additional 10 minutes, or until the peppers are tender and cheese is bubbly.
- Serve warm.