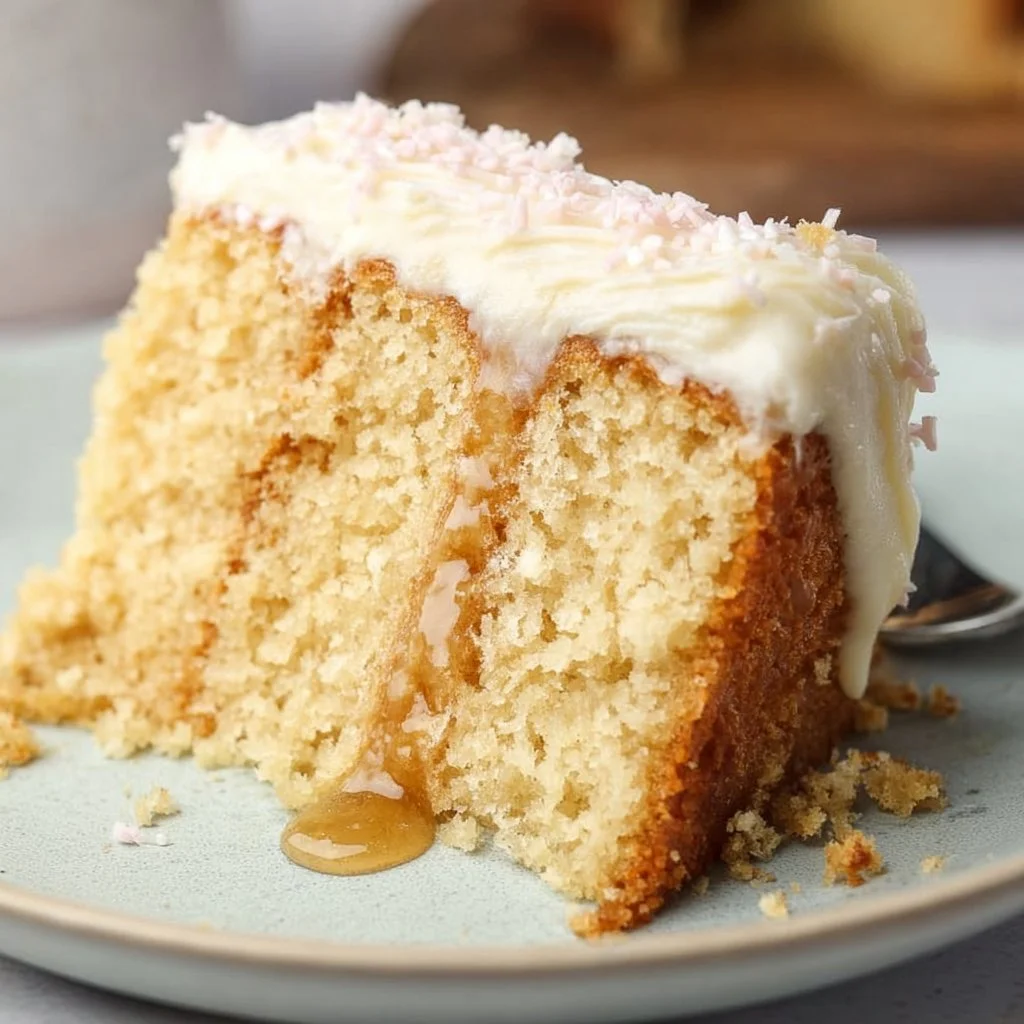
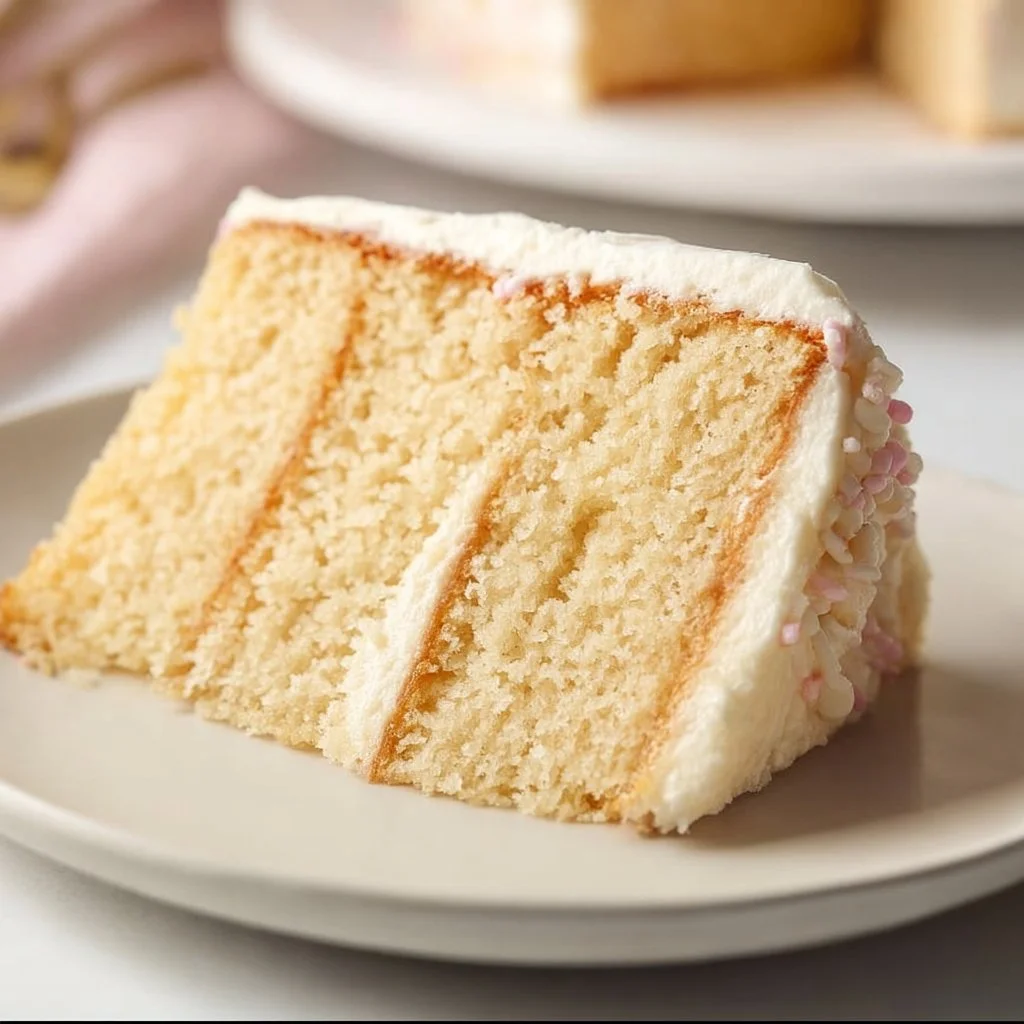
Vegan Vanilla Cake
The Sweet Aroma of Vanilla Bliss
Ever walked into a bakery and felt like you were being wrapped in a warm hug? That’s exactly what this Vegan Vanilla Cake does! It’s a fluffy, rich treat that bursts with sweet vanilla flavor, perfect for any occasion. Plus, it’s a breeze to whip up, making it ideal for both novice bakers and seasoned pros. Trust me, your taste buds are in for a real treat!
Why Make This Recipe
You’ll absolutely love this cake for a handful of reasons:
- Baking Brilliance: It’s super easy, requiring just one bowl for the wet ingredients and another for the dry. Cleanup? A piece of cake! (Pun intended.)
- Affordable Ingredients: No need for fancy, hard-to-pronounce items here. Just grab some common pantry staples and you’re good to go.
- Family-Friendly: This cake is popular with everyone. Kids, adults, even your picky eaters won’t be able to resist a slice (or two!).
Ingredients
You don’t need fancy stuff — just these basics!
- 2 cups almond milk
- 2 tablespoons white vinegar
- 3 ½ cups plain flour/all-purpose flour
- 1 tablespoon baking powder
- ½ teaspoon bicarbonate of soda/baking soda
- ¼ teaspoon salt
- ⅔ cup canola oil
- 1 ½ cups white sugar/granulated sugar
- 1 tablespoon vanilla extract
- 1 cup (250 grams) dairy-free butter
- 6 cups icing sugar
- 1 ½ teaspoons vanilla extract
- ¼ teaspoon salt
- 2-3 tablespoons vanilla almond milk
- Pink gel food coloring (optional)
- Sprinkles (optional)
Directions
Let’s break down the process into simple steps:
- Preheat the oven to 180°C (350°F). Grease and line 3 x 8 inch round cake pans with baking paper.
- Make the Vanilla Cake:
- In a small bowl, mix the almond milk and white vinegar. Set it aside and watch it curdle.
- In another bowl, sift together the flour, baking powder, bicarbonate of soda, and salt.
- In a large bowl, whisk the canola oil, white sugar, and vanilla until it’s combined and smooth.
- Gradually add in the dry ingredients, alternating with the curdled milk, mix till smooth.
- Divide the batter evenly into the prepared pans (a kitchen scale helps if you’re feeling exact).
- Bake for 25-30 minutes until a skewer inserted into the center comes out clean. The cakes should bounce back when touched.
- Let them cool in the pans for 10 minutes, then turn them out onto a wire rack to cool completely.
- Make the Vanilla Buttercream:
- In a bowl, beat the dairy-free butter and vanilla until creamy. Gradually incorporate 3 cups of icing sugar at a time until smooth.
- If the buttercream is too thin, add more icing sugar. If too thick, add a dash more milk.
- Assemble the cake:
- Level the cakes if needed. Spread a bit of buttercream on the serving plate, place the first layer, and add more buttercream.
- Repeat with the second layer and finish with the top layer upside down for a smooth finish. Chill for at least an hour in the fridge.
- For decoration, tint the remaining buttercream and use piping bags to create an ombre effect. Finish with swirls and sprinkles as desired.
How to Make Vegan Vanilla Cake (Overview)
Here’s a quick recap of what you need to do: First, mix your wet ingredients, then introduce the dry ones bit by bit. Bake those layers without burning your eyebrows off, and whip up some velvety buttercream. It’s all about layering and chilling; patience is key here! Pro tip: Don’t skimp on the chill time — it allows the flavors to develop beautifully. 🍰
How to Serve Vegan Vanilla Cake
For that wow factor, serve your cake on a beautiful stand. Slice it up to reveal those fluffy layers, and watch as your guests’ eyes light up! Pair it with a dusting of powdered sugar or a drizzle of chocolate sauce. The aroma of vanilla is so inviting! And if you sprinkle some colorful happy sprinkles on top, it’ll be a showstopper.
How to Store Vegan Vanilla Cake
This beauty can sit in the fridge for about 3-4 days if covered. Need to save it for later? You can freeze it for up to 3 months. Just wrap each layer carefully and it’ll be as good as new once thawed. Reheating isn’t necessary; it’s best enjoyed at room temperature, so just let it sit out for a bit before diving in.
Tips to Make Vegan Vanilla Cake
Here are a few tricks for perfecting your cake:
- Don’t skip the vinegar in the milk; it’s your secret weapon for creating buttermilk.
- Use a kitchen scale for even layers — your cake will look more professional (and no one needs to know it wasn’t perfect from scratch!).
- For added flavor, experiment with almond or coconut extract for a twist on traditional vanilla.
Variation
Feeling adventurous? Mix it up a little! Swap out the vanilla for lemon or add cocoa powder for a chocolate version. You can also throw in some fresh fruits like raspberries or strawberries for a fruity touch.
FAQs
1. Can I use other plant-based milk?
Absolutely! Soy or oat milk works great too.
2. Can I make this cake gluten-free?
Yes! Just swap the all-purpose flour for a gluten-free blend.
3. How can I make this cake without refined sugar?
Try substituting with coconut sugar or a natural sweetener like maple syrup, but you may need to adjust the liquid content.
📌 Pin this recipe for your next cozy dinner night!
Vegan Vanilla Cake
Ingredients
Method
- Preheat the oven to 180°C (350°F) and grease and line 3 x 8 inch round cake pans with baking paper.
- In a small bowl, mix the almond milk and white vinegar, and set it aside.
- In another bowl, sift together the flour, baking powder, bicarbonate of soda, and salt.
- In a large bowl, whisk the canola oil, white sugar, and vanilla until combined and smooth.
- Gradually add the dry ingredients to the wet ingredients, alternating with the curdled milk, and mix until smooth.
- Divide the batter evenly into the prepared pans.
- Bake for 25-30 minutes until a skewer inserted into the center comes out clean.
- Let them cool in the pans for 10 minutes, then turn them out onto a wire rack to cool completely.
- In a bowl, beat the dairy-free butter and vanilla until creamy.
- Gradually incorporate 3 cups of icing sugar at a time until smooth.
- If the buttercream is too thin, add more icing sugar; if too thick, add a dash more milk.
- Level the cakes if needed and spread a bit of buttercream on the serving plate.
- Place the first layer, add more buttercream, and repeat with the second layer.
- Finish with the top layer upside down for a smooth finish.
- Chill for at least an hour in the fridge.
- Tint the remaining buttercream and use piping bags to create an ombre effect, finishing with swirls and sprinkles.