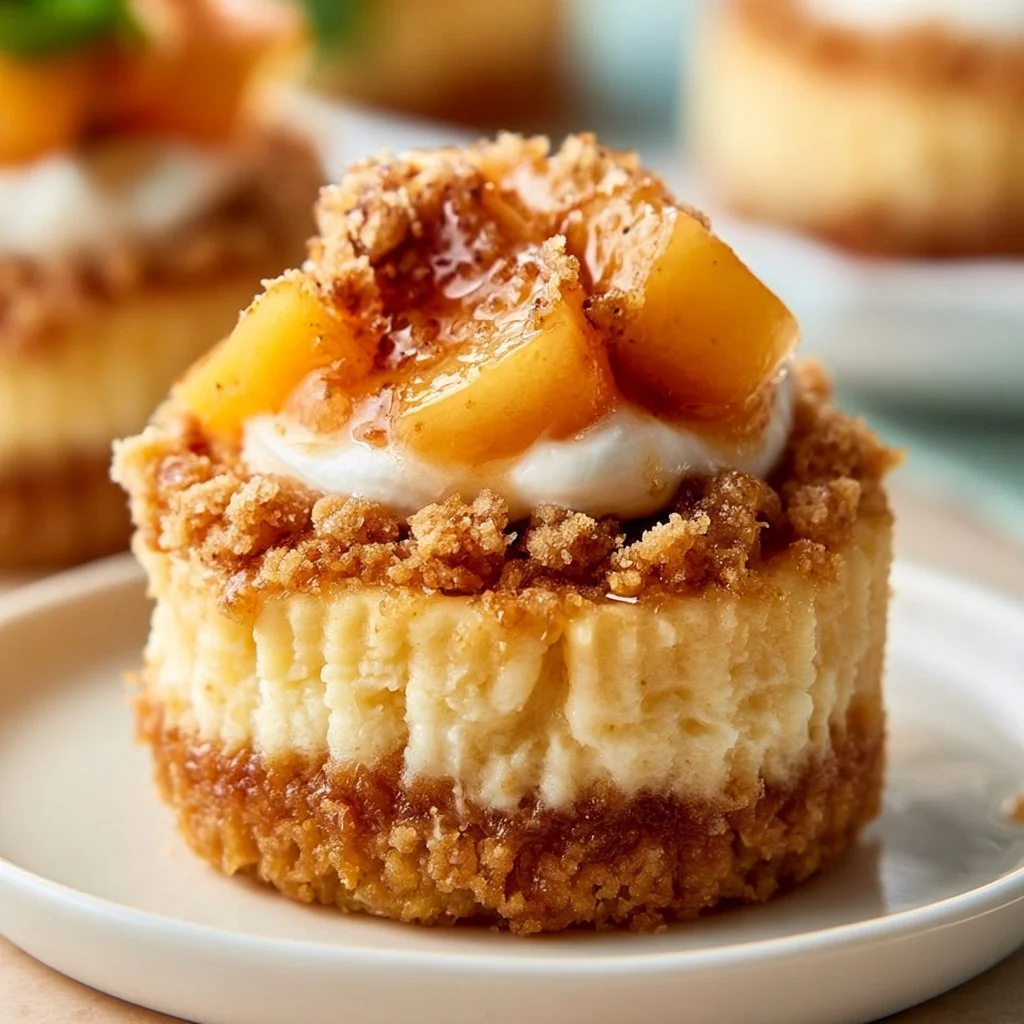
Mini Peach Cobbler Cheesecakes
Sweet, Peachy Bliss Awaits!
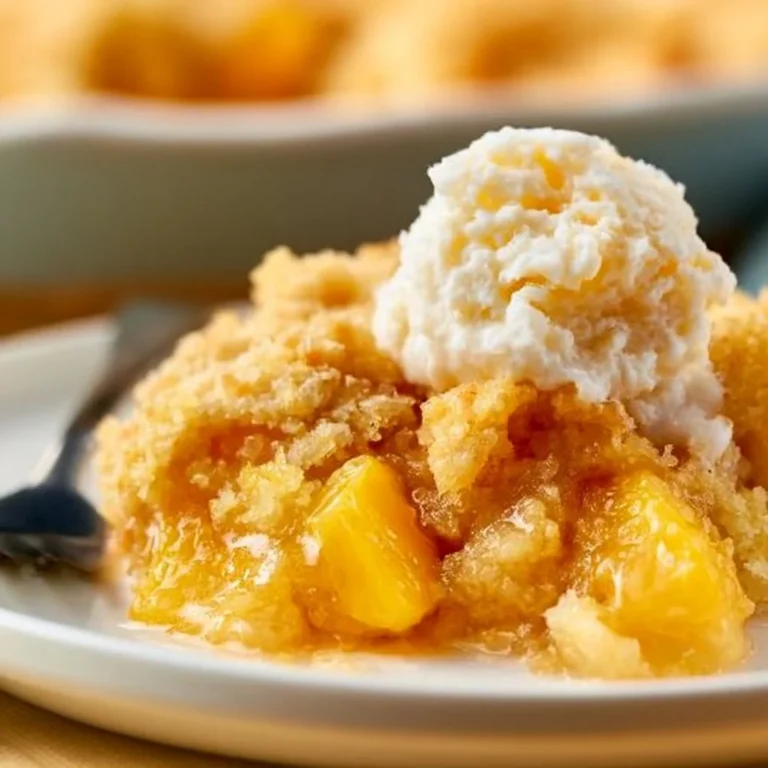
Ever thought of indulging in a dessert that bursts with sunshine? These Mini Peach Cobbler Cheesecakes are like summer in a bite, layered with creamy goodness and delightful peach sweetness. Perfectly portioned and oh-so-easy to whip up, they bring the familiar flavors of a classic peach cobbler right into a charming cheesecake experience. Trust me, once you take a bite, you’ll be dreaming of these little treats for days!
Why Make This Recipe
Why should you add these cheesecakes to your dessert lineup? Here are a few reasons you’ll adore them:
- Quick & Simple: With just a few ingredients and straightforward steps, you can whip these up faster than it takes to order dessert online!
- Family-Friendly Fun: Who doesn’t love mini desserts? Perfect for sharing with the fam or for keeping all to yourself—no judgment here!
- Affordable Ingredients: You don’t need to break the bank for a taste of decadence. These cheesecakes use everyday items that are likely already in your pantry.
Ingredients
You don’t need fancy stuff — just these basics!
- 1 ½ cups graham cracker crumbs
- ½ cup unsalted butter, melted
- 2 cups cream cheese, softened
- 1 cup sugar
- 1 teaspoon vanilla extract
- 2 eggs
- 2 cups canned peaches, drained and diced
- 1 teaspoon cinnamon
Directions
- Preheat the oven to 325°F (160°C).
- In a bowl, combine graham cracker crumbs and melted butter, then press the mixture into the bottom of muffin tins to form crusts.
- In a separate bowl, mix together cream cheese, sugar, and vanilla until smooth.
- Add eggs one at a time, mixing well after each addition.
- Gently fold in the diced peaches and cinnamon.
- Pour the cheesecake filling over the crusts in the muffin tins.
- Bake for 20-25 minutes or until set.
- Allow to cool before serving. Enjoy your mini peach cobbler cheesecakes!

How to Make Mini Peach Cobbler Cheesecakes (Overview)
Let’s break it down, step-by-step, because who doesn’t love a good recap? Start by flowering your kitchen with the scent of graham crackers and butter. Prep the crust, then mix up your smooth and creamy filling, like you’re channeling your inner pastry chef (even if you’re just getting started). The final touch? Dice those peaches and fold them into your cream cheese blend. Bake, cool, and voila! You’re the proud parent of a mini-cheesecake army. Pro tip: Letting them cool for a bit helps them set beautifully!
How to Serve Mini Peach Cobbler Cheesecakes
When serving these beauties, presentation is key! Stack them on a plate, maybe add a drizzle of extra peach syrup or a dollop of whipped cream for that extra touch of fancy. Picture this: a golden crust, soft peach filling, and a sprinkle of cinnamon wafting through the air. It’s not just food; it’s an experience for the eyes and the palate! Add fresh mint leaves for a pop of color—it’s a party, after all!
How to Store Mini Peach Cobbler Cheesecakes
Got leftovers? No worries! These cheesecake delights can chill in the fridge for up to 5 days. Just make sure they’re covered to keep them fresh. For longer storage, pop them in the freezer where they can happily live for up to a month. Just remember to thaw them overnight in the fridge before you dive in again. Thank goodness for make-ahead desserts!
Tips to Make Mini Peach Cobbler Cheesecakes
- Use room temperature cream cheese: This ensures a smoother batter—nobody likes lumps!
- Don’t overmix the eggs: Just mix until blended; overmixing can give the cheesecake a weird texture.
- Fresh or frozen peaches work: If you have fresh peaches, feel free to use them! Just make sure to reduce the moisture.
Variation
Feeling adventurous? Try swapping out the peaches for other fruits like blueberries or cherries. Or make it vegan by using vegan cream cheese and replacing the eggs with flaxseed meal mixed with water. The possibilities are endless!
FAQs
Can I make these Mini Peach Cobbler Cheesecakes ahead of time?
Absolutely! You can prep them a day in advance, which makes them perfect for gatherings.
Can I use fresh peaches instead of canned?
Yes, fresh peaches work wonderfully too! Just make sure they’re ripe and juicy.
How do I freeze Mini Peach Cobbler Cheesecakes?
Once they’re fully set and cooled, wrap them tightly in plastic wrap and store in an airtight container for up to a month.
📌 Pin this recipe for your next cozy dinner night!
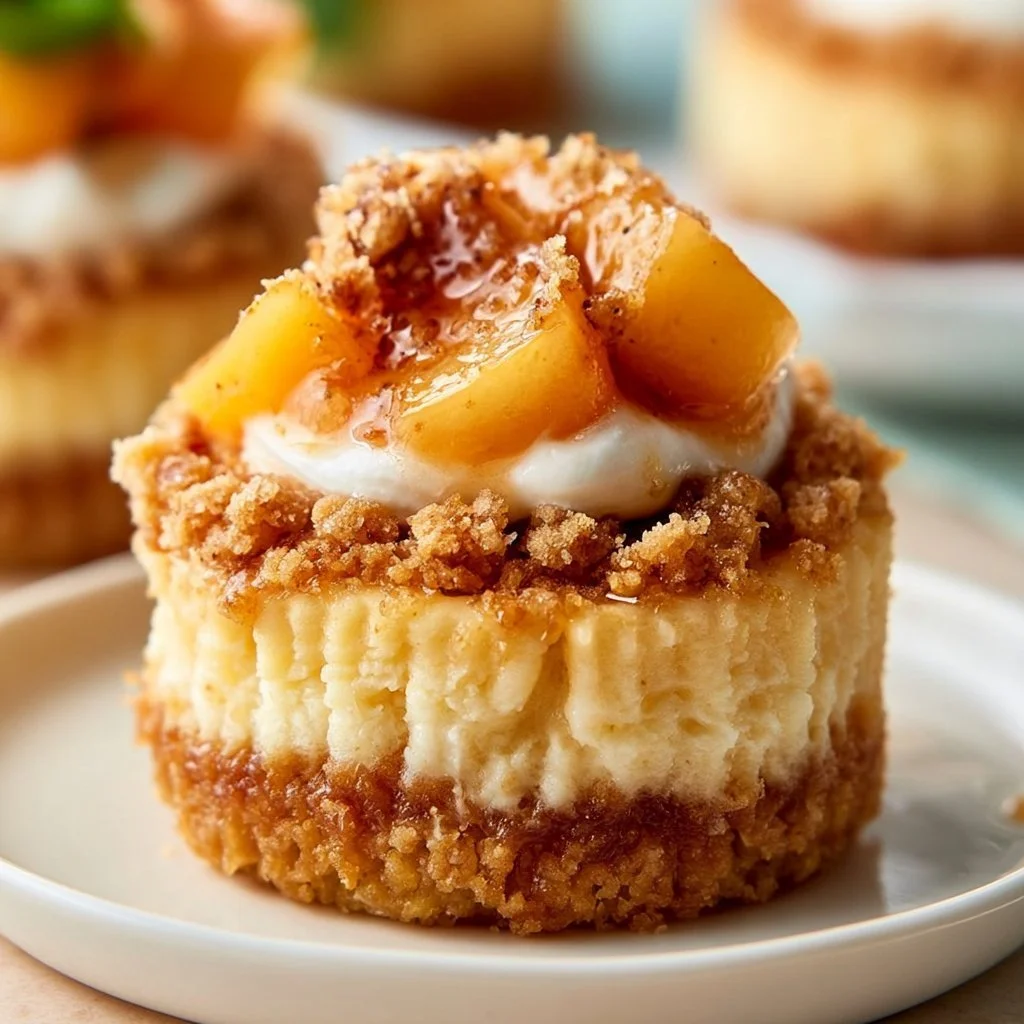
Mini Peach Cobbler Cheesecakes
Ingredients
Method
- Preheat the oven to 325°F (160°C).
- In a bowl, combine graham cracker crumbs and melted butter, then press the mixture into the bottom of muffin tins to form crusts.
- In a separate bowl, mix together cream cheese, sugar, and vanilla until smooth.
- Add eggs one at a time, mixing well after each addition.
- Gently fold in the diced peaches and cinnamon.
- Pour the cheesecake filling over the crusts in the muffin tins.
- Bake for 20-25 minutes or until set.
- Allow to cool before serving. To serve, stack on a plate and consider adding a drizzle of peach syrup or whipped cream.